Plakar Backups
Plakar is an innovative backup solution. It has many extensions that allow you to create backups from various sources, store them in multiple locations, and restore them to different destinations. Under the hood, Plakar uses Kloset, a flexible storage layer that lets you store data locally, on S3-compatible services, or even through tools like rclone.
Plakar is available on Linux, macOS, and FreeBSD/OpenBSD. We can install it following these instructions.
In this how-to, we’ll start by creating a backup stored on the local filesystem. Next we’ll detail how to store backups on Exoscale SOS, then we’ll show the restore procedure.
Creating our first local backup
Before creating a backup, we need to define a Kloset store on your filesystem. The following commands create such a store in $HOME/my-backups.
plakar at $HOME/my-backups createIn the background, Kloset uses the following folder hierarchy to store the backup we’ll create.
$ tree $HOME/my-backups
/Users/lucjuggery/my-backups
├── CONFIG
├── locks
├── packfiles
│   ├── 00
│   ├── 01
│   ├── 02
│   ...
│   ├── fe
│   └── ff
└── states
    ├── 00
    ├── 01
    ├── 02
    ...
    ├── fe
    └── ff

516 directories, 1 file
Before we create our first backup. Let’s first create a demo folder.
mkdir $HOME/mydocuments
echo "my first doc" > $HOME/mydocuments/doc-1.md
echo "my second doc" > $HOME/mydocuments/doc-2.md
Then, we create a backup of this folder in our local store.
plakar at $HOME/my-backups backup $HOME/mydocumentsUnder the hood, Plakar created encrypted files in our local store.
$ find $HOME/my-backups -type f
/Users/lucjuggery/my-backups/CONFIG
/Users/lucjuggery/my-backups/packfiles/9e/9e469cc05c6e1f09b54136ef52632c930fc5e52d928a1b15909a8fecb15f436d
/Users/lucjuggery/my-backups/packfiles/d0/d05fb8833b67c0db0673a684eb13393a24f86bf62d10400930012db8959b9220
/Users/lucjuggery/my-backups/packfiles/44/44171fddf3c94cc46687a2befee8a3e4391a729db223067e8f226d1e72361297
/Users/lucjuggery/my-backups/packfiles/3f/3f48ecbb8b6908cb277f2b1443902e040738cde4b156758d41184920260a7985
/Users/lucjuggery/my-backups/packfiles/ba/ba906f475abbd46a724ac266553594deb09548f4284ac9b8e1dc3a6e9cd24bf5
/Users/lucjuggery/my-backups/packfiles/b0/b01d01d1eb99e0459bbc79dc7bb68d821dbeda9db90bd2bce2b78fa1a503ba38
/Users/lucjuggery/my-backups/states/28/28d73b52795c92ef19a53a1cd7bd293486635c59f571da3d4541e47f851ec376
Plakar has a nice UI that lets you browse backups and more, as we’ll see below.
Accessing the backup from the UI
We can access Plakar’s UI with the following command, which opens your web browser automatically.
plakar at $HOME/my-backups uiat command.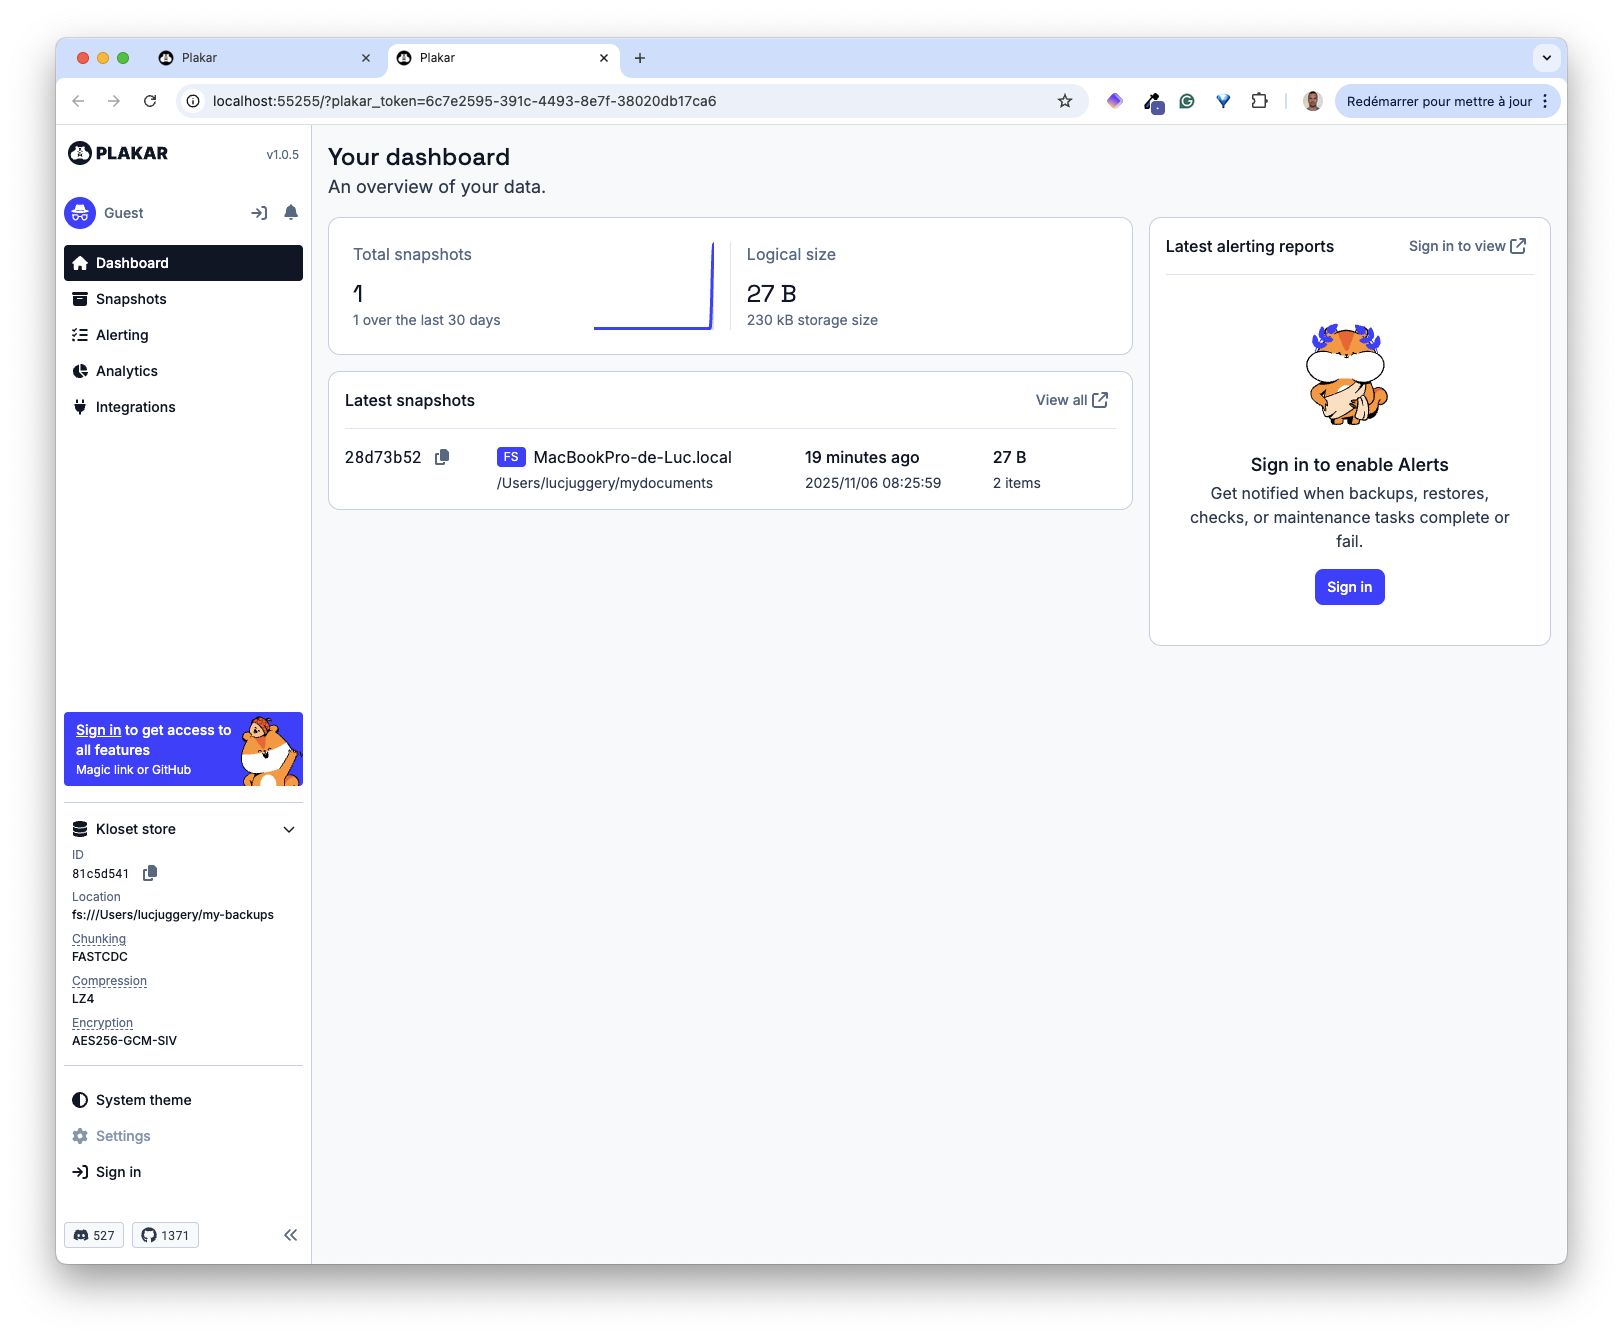
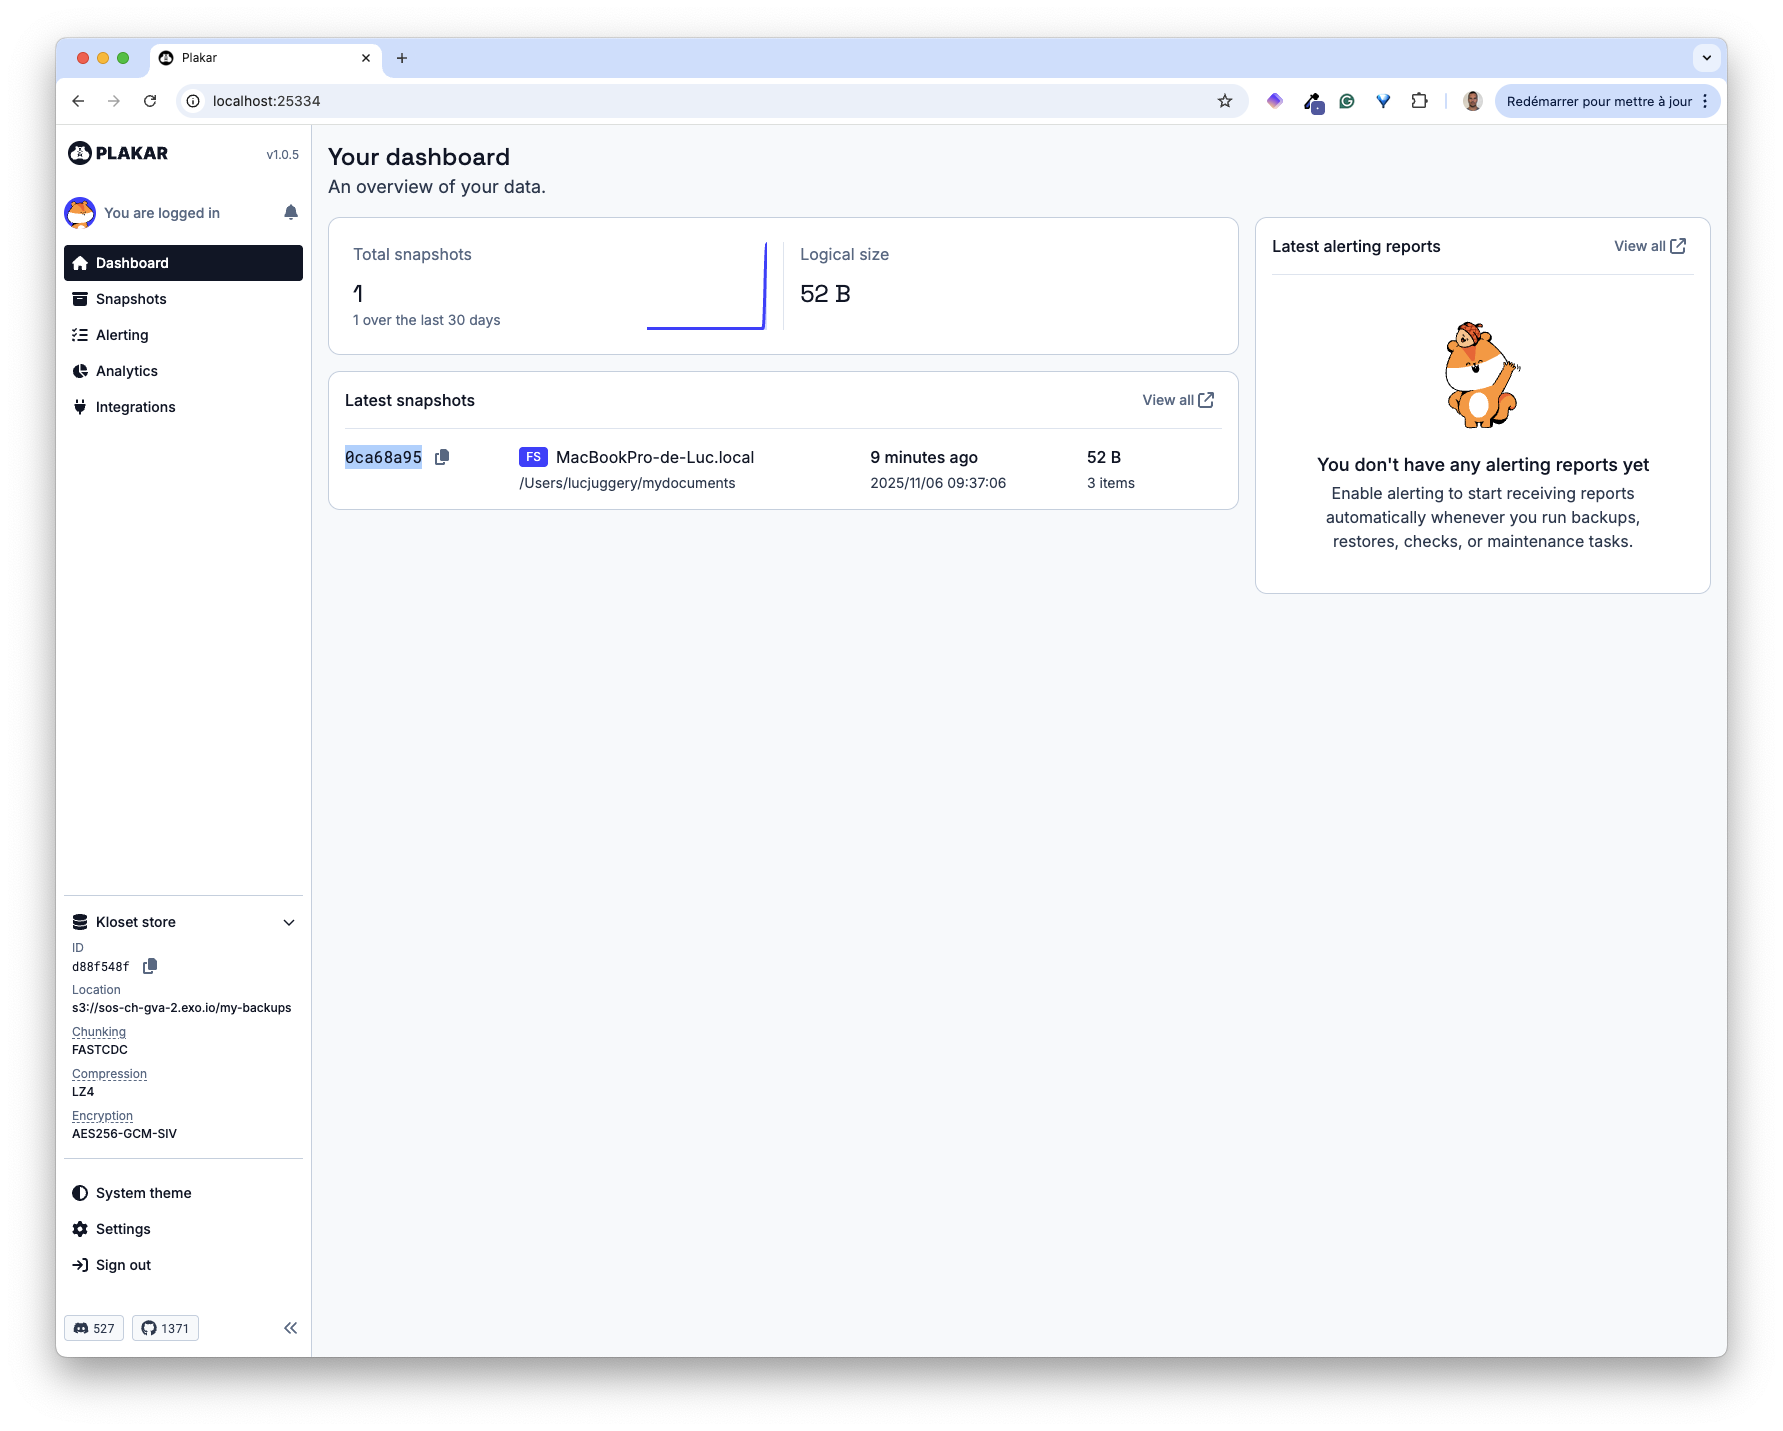
The dashboard gives an overview of the backups we’ve created so far. We currently only have one. Each backup is a snapshot we can browse and restore as needed.
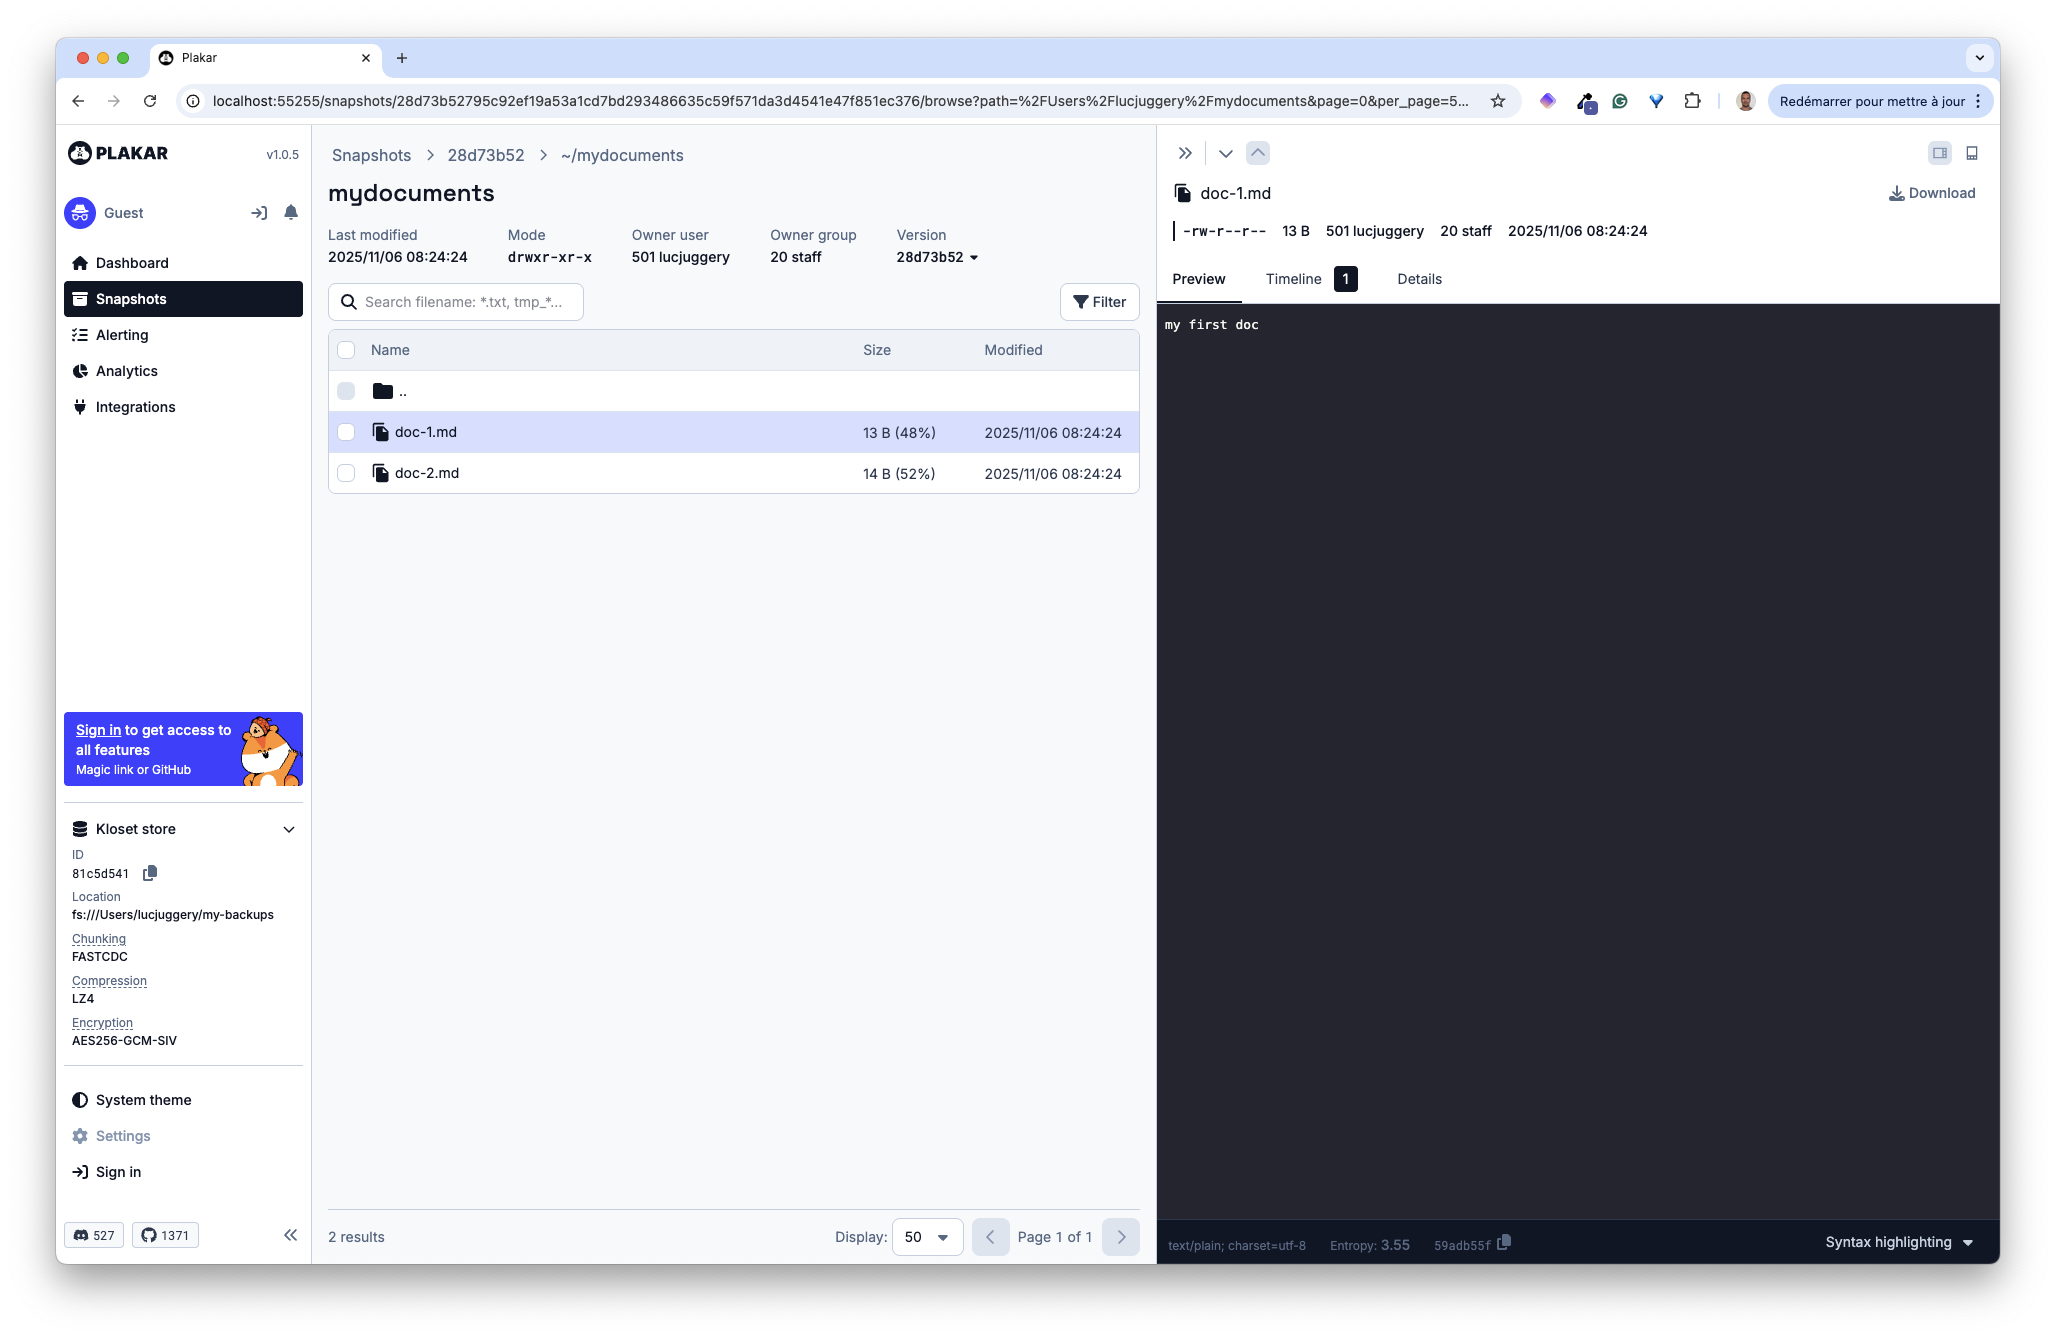
The screenshot below shows the content of doc-1.md existing in the snapshot we’ve created.
At the bottom left of the dashboard, we have information about the Kloset store in use: its location, $HOME/my-backups on the local filesystem, and the compression and encryption algorithms used.
We’ll now create a new snapshot. First, we change a file in our source folder and add a new one.
echo "this is my first doc" > $HOME/mydocuments/doc-1.md
echo "another document" > $HOME/mydocuments/doc-3.md
Next, we back up the folder using the same command.
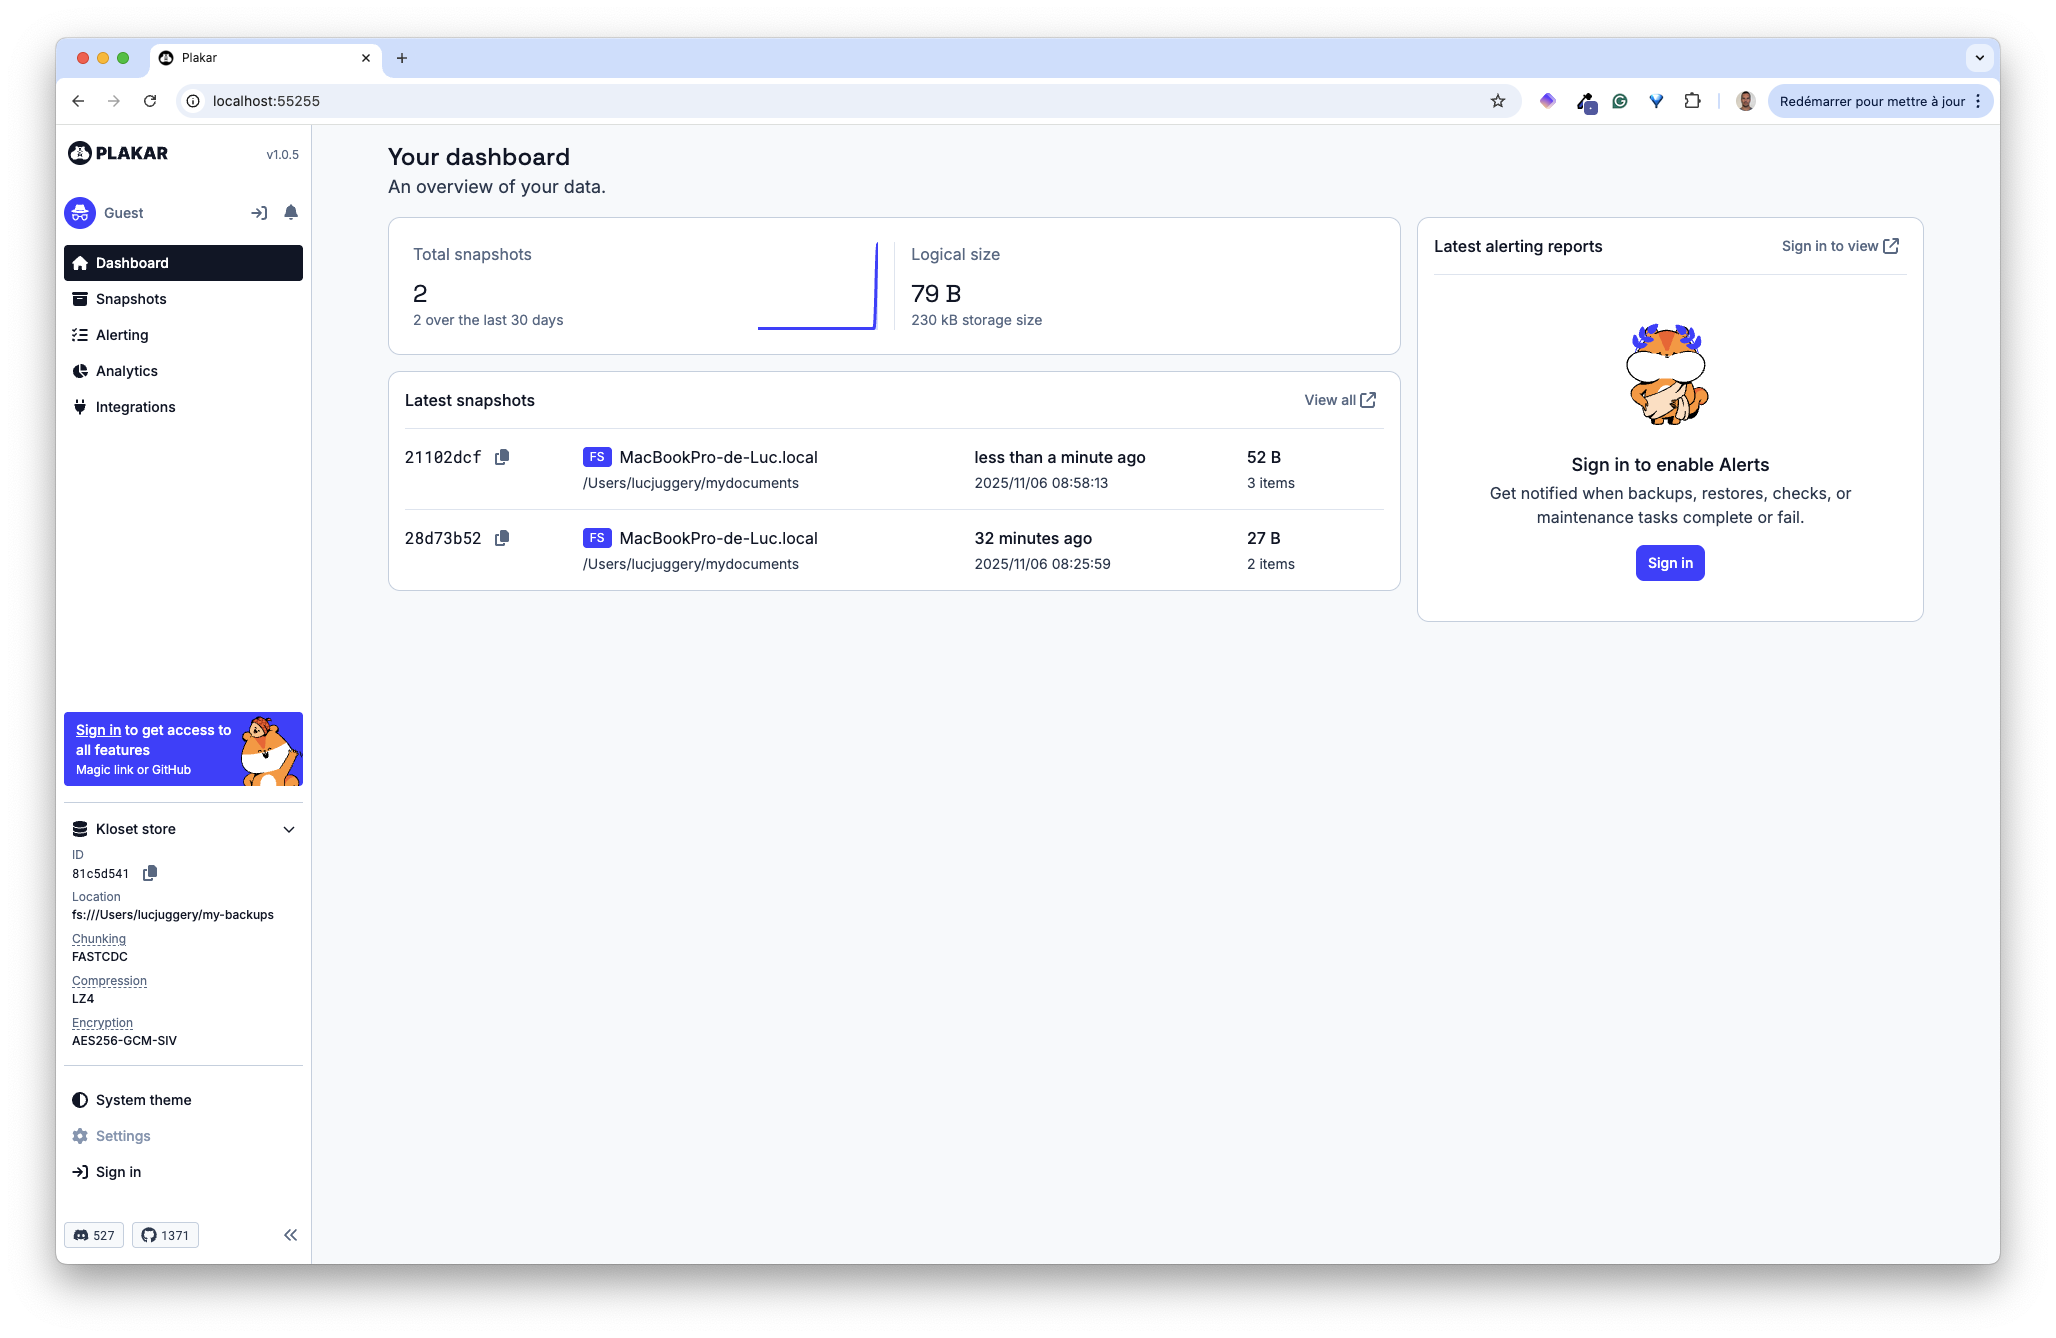
plakar at $HOME/my-backups backup $HOME/mydocumentsThen, the UI shows that a new snapshot was created.
In this section, we stored backups on the local filesystem. In a production environment, we would consider a more robust storage solution, such as S3-compatible object storage, which is the focus of the next section.
Creating a backup in Exoscale SOS
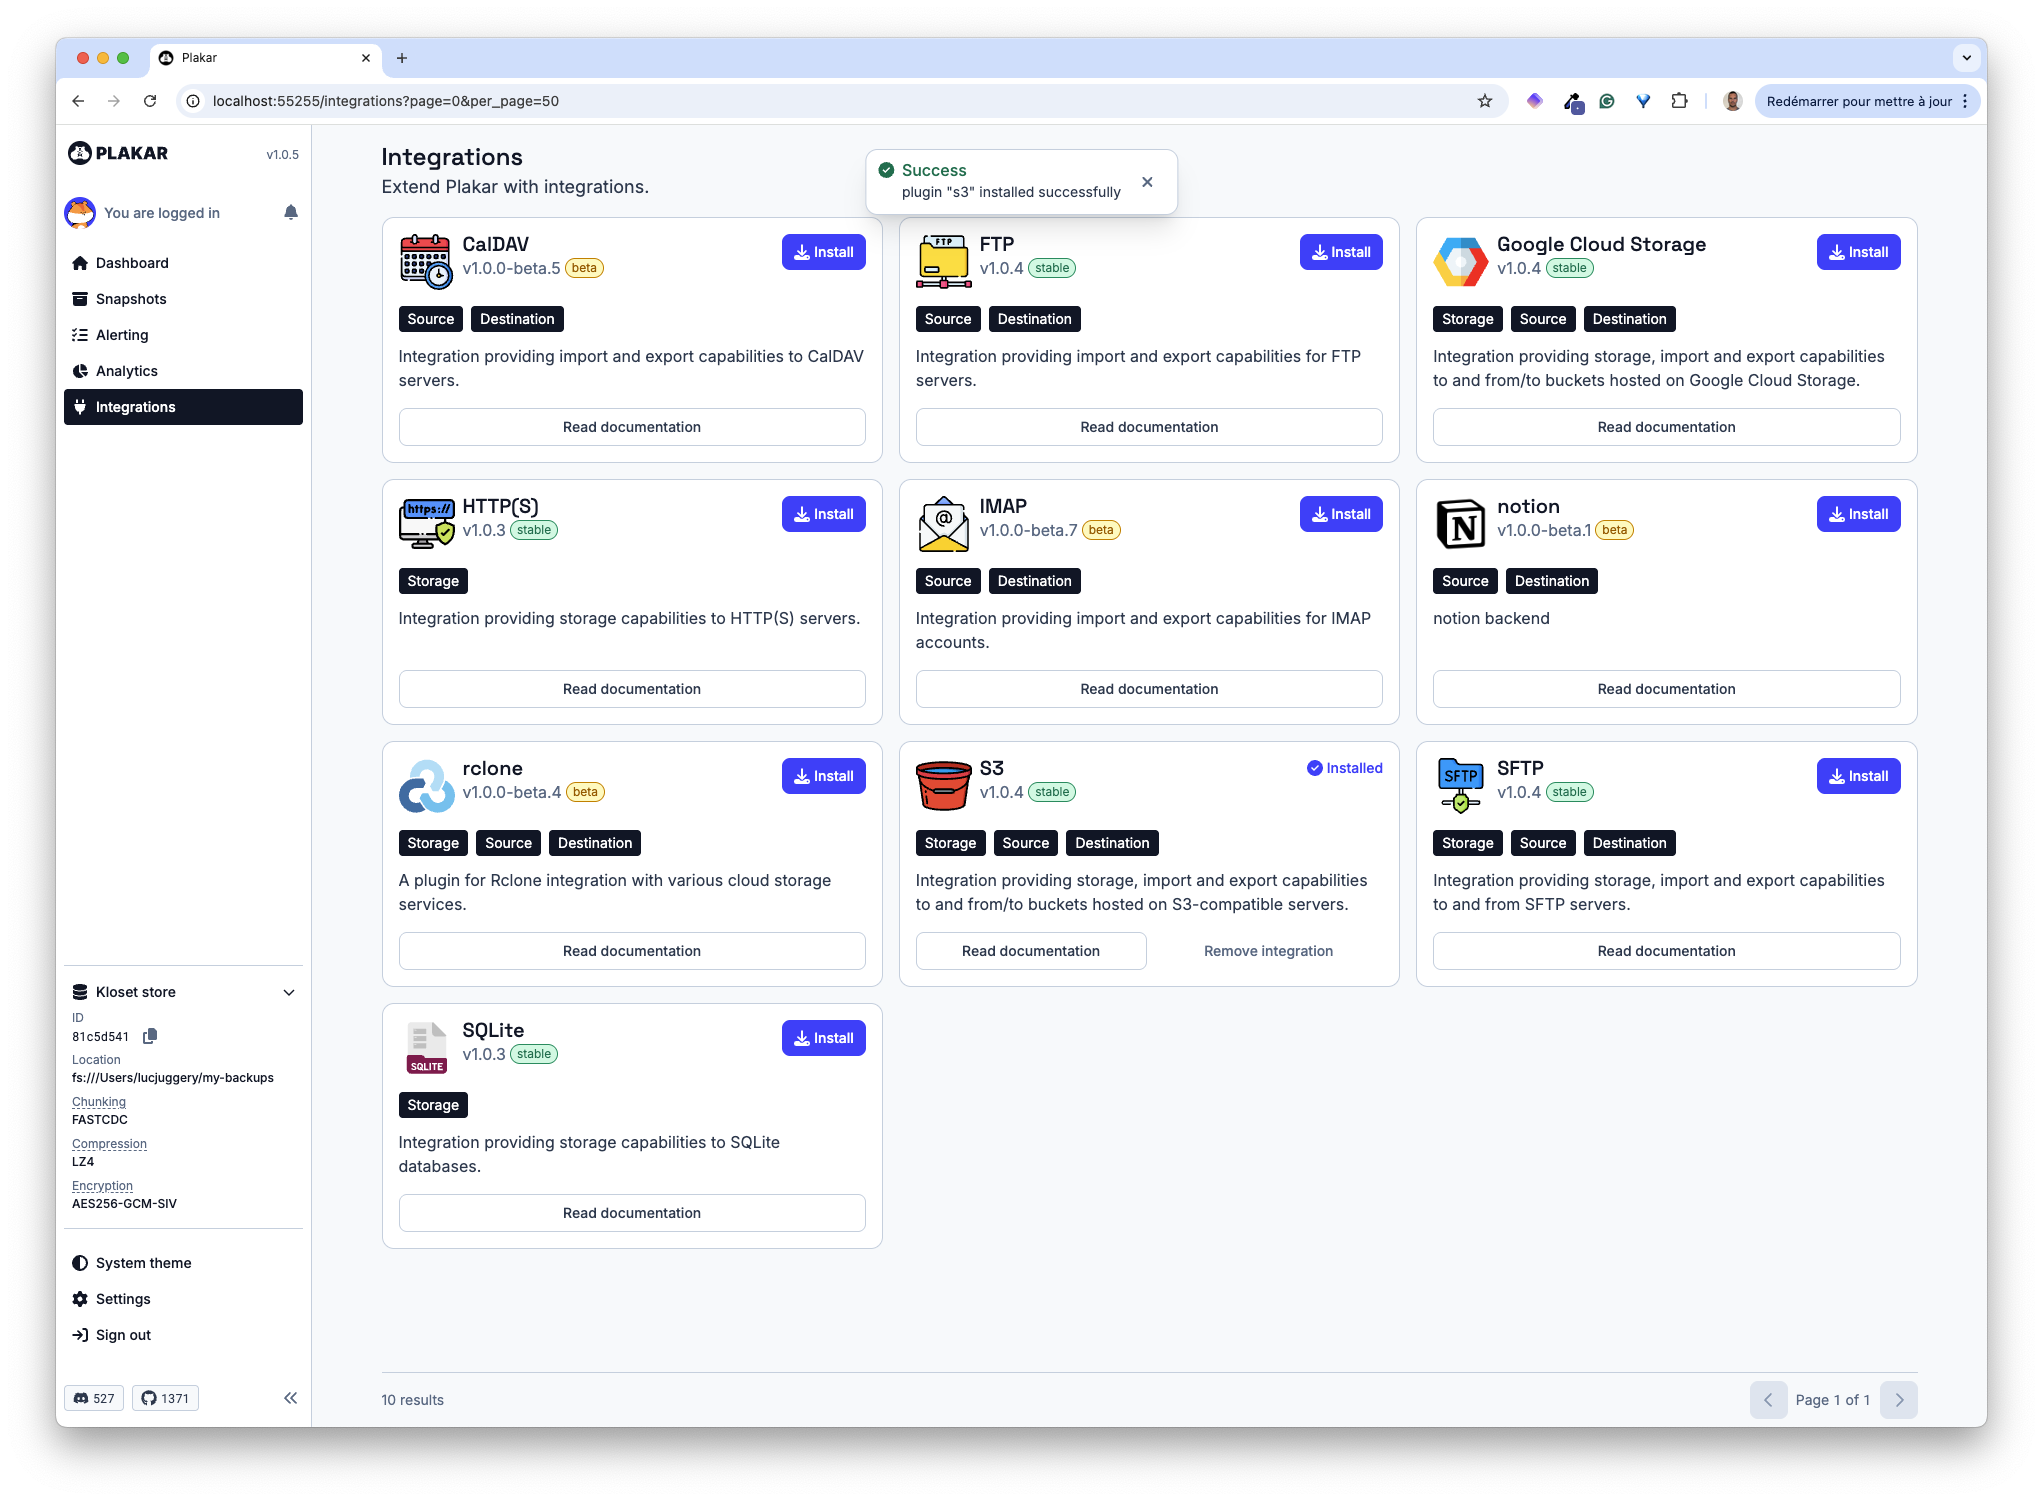
Plakar offers various integrations that let you specify additional locations for sources, destinations, and storage.
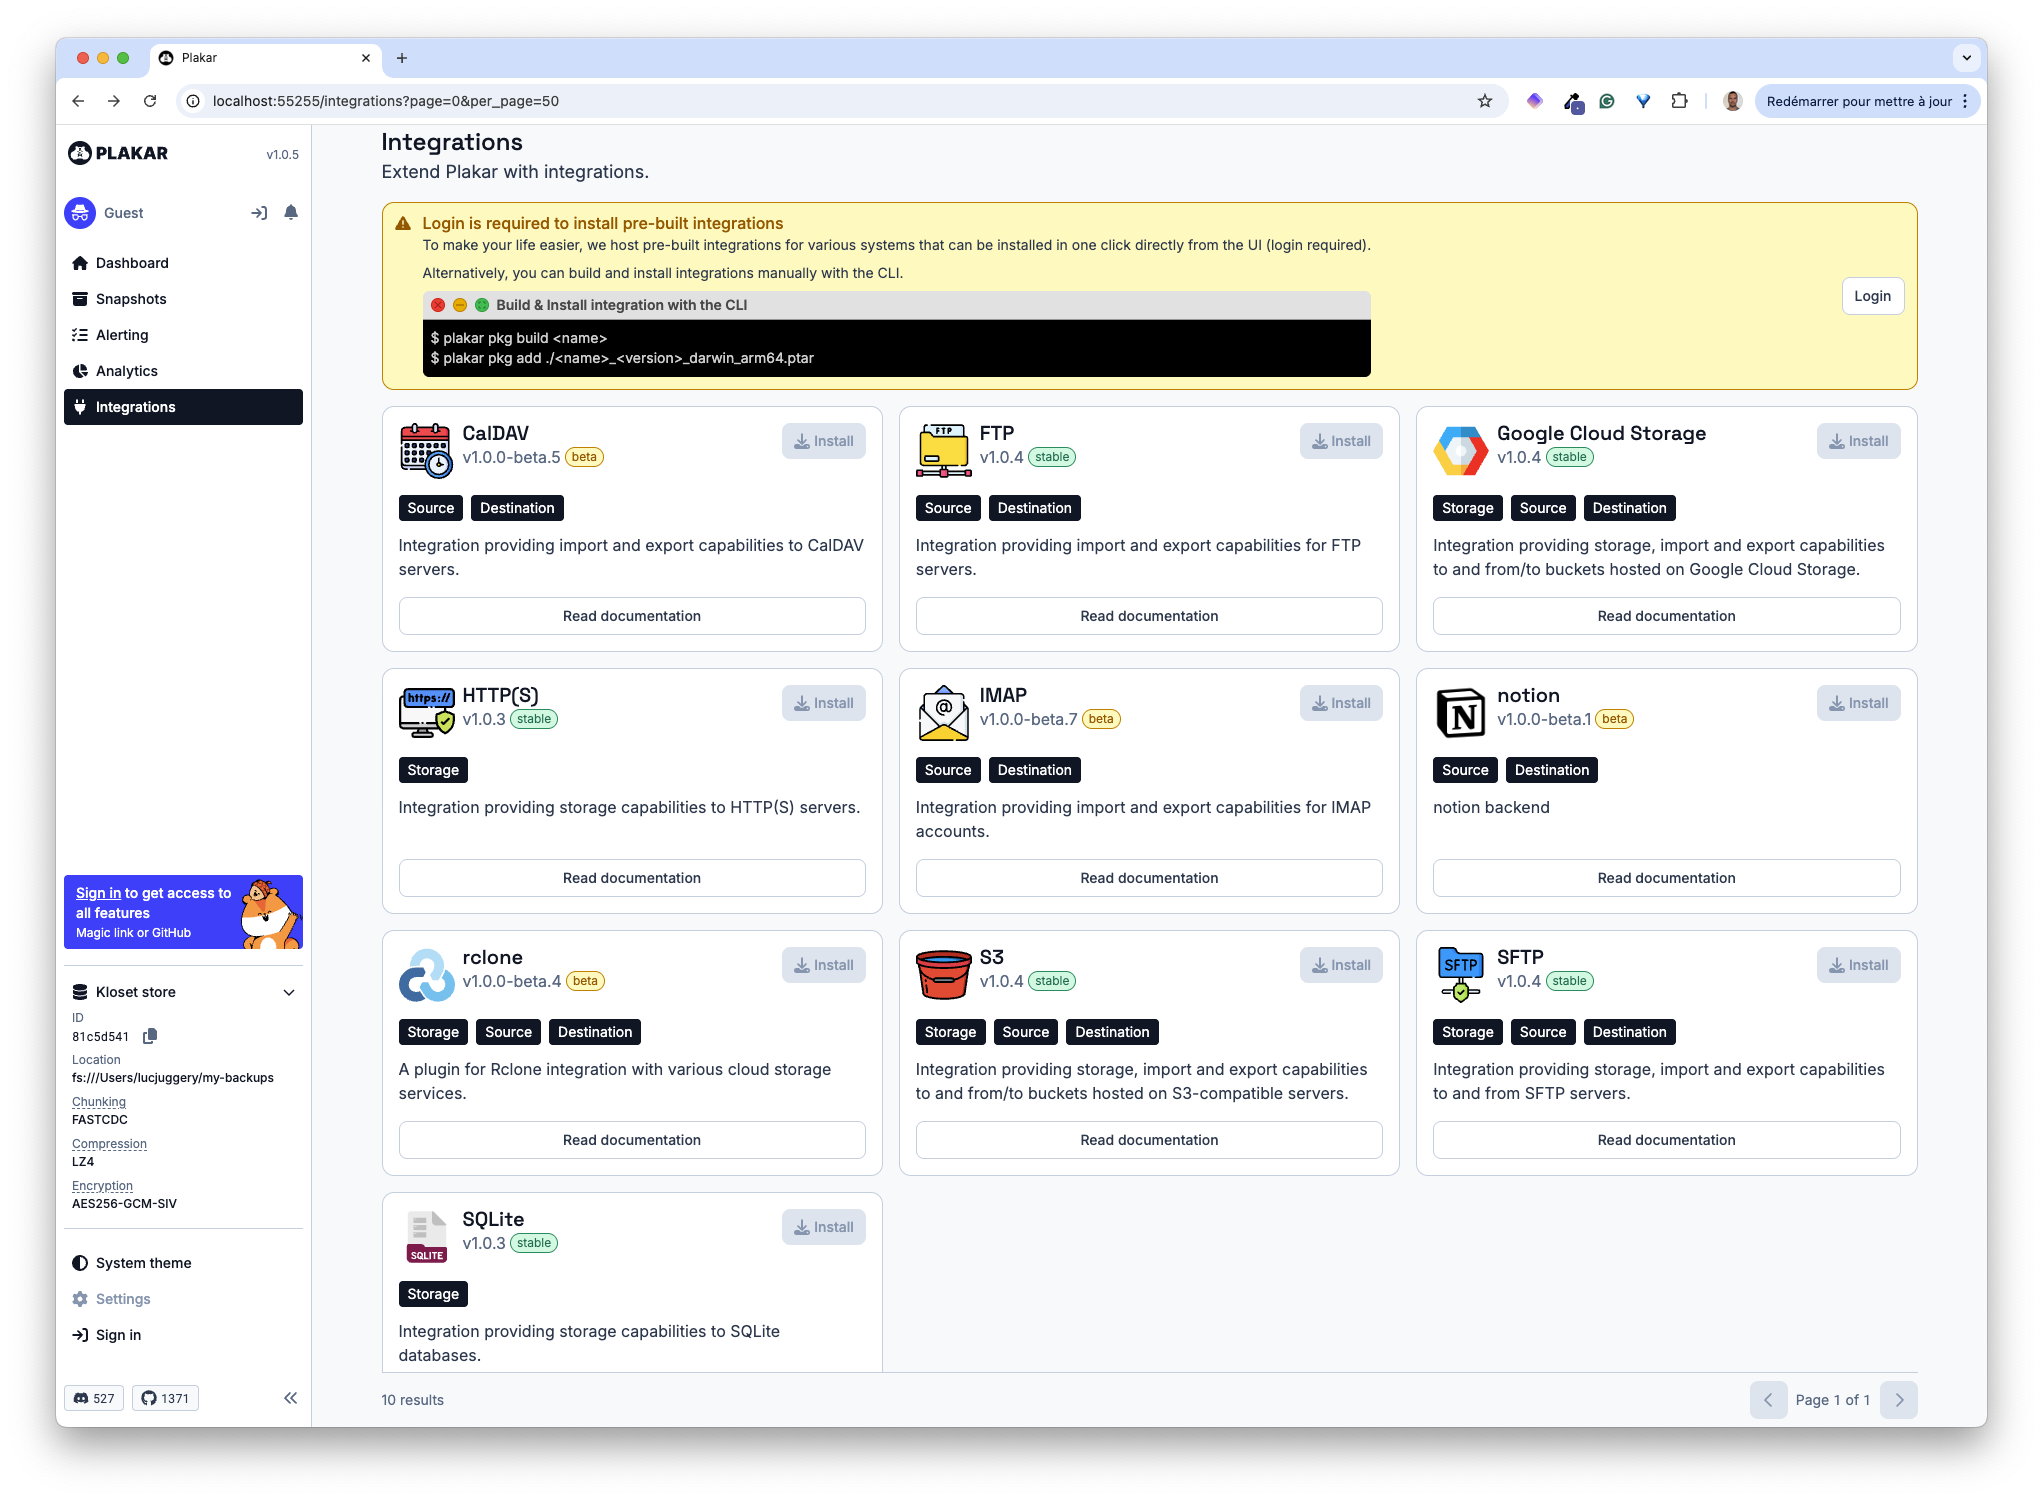
In this section, we’ll focus on the S3 integration, which allows us to store backups in Exoscale SOS, a S3-compatible object storage.
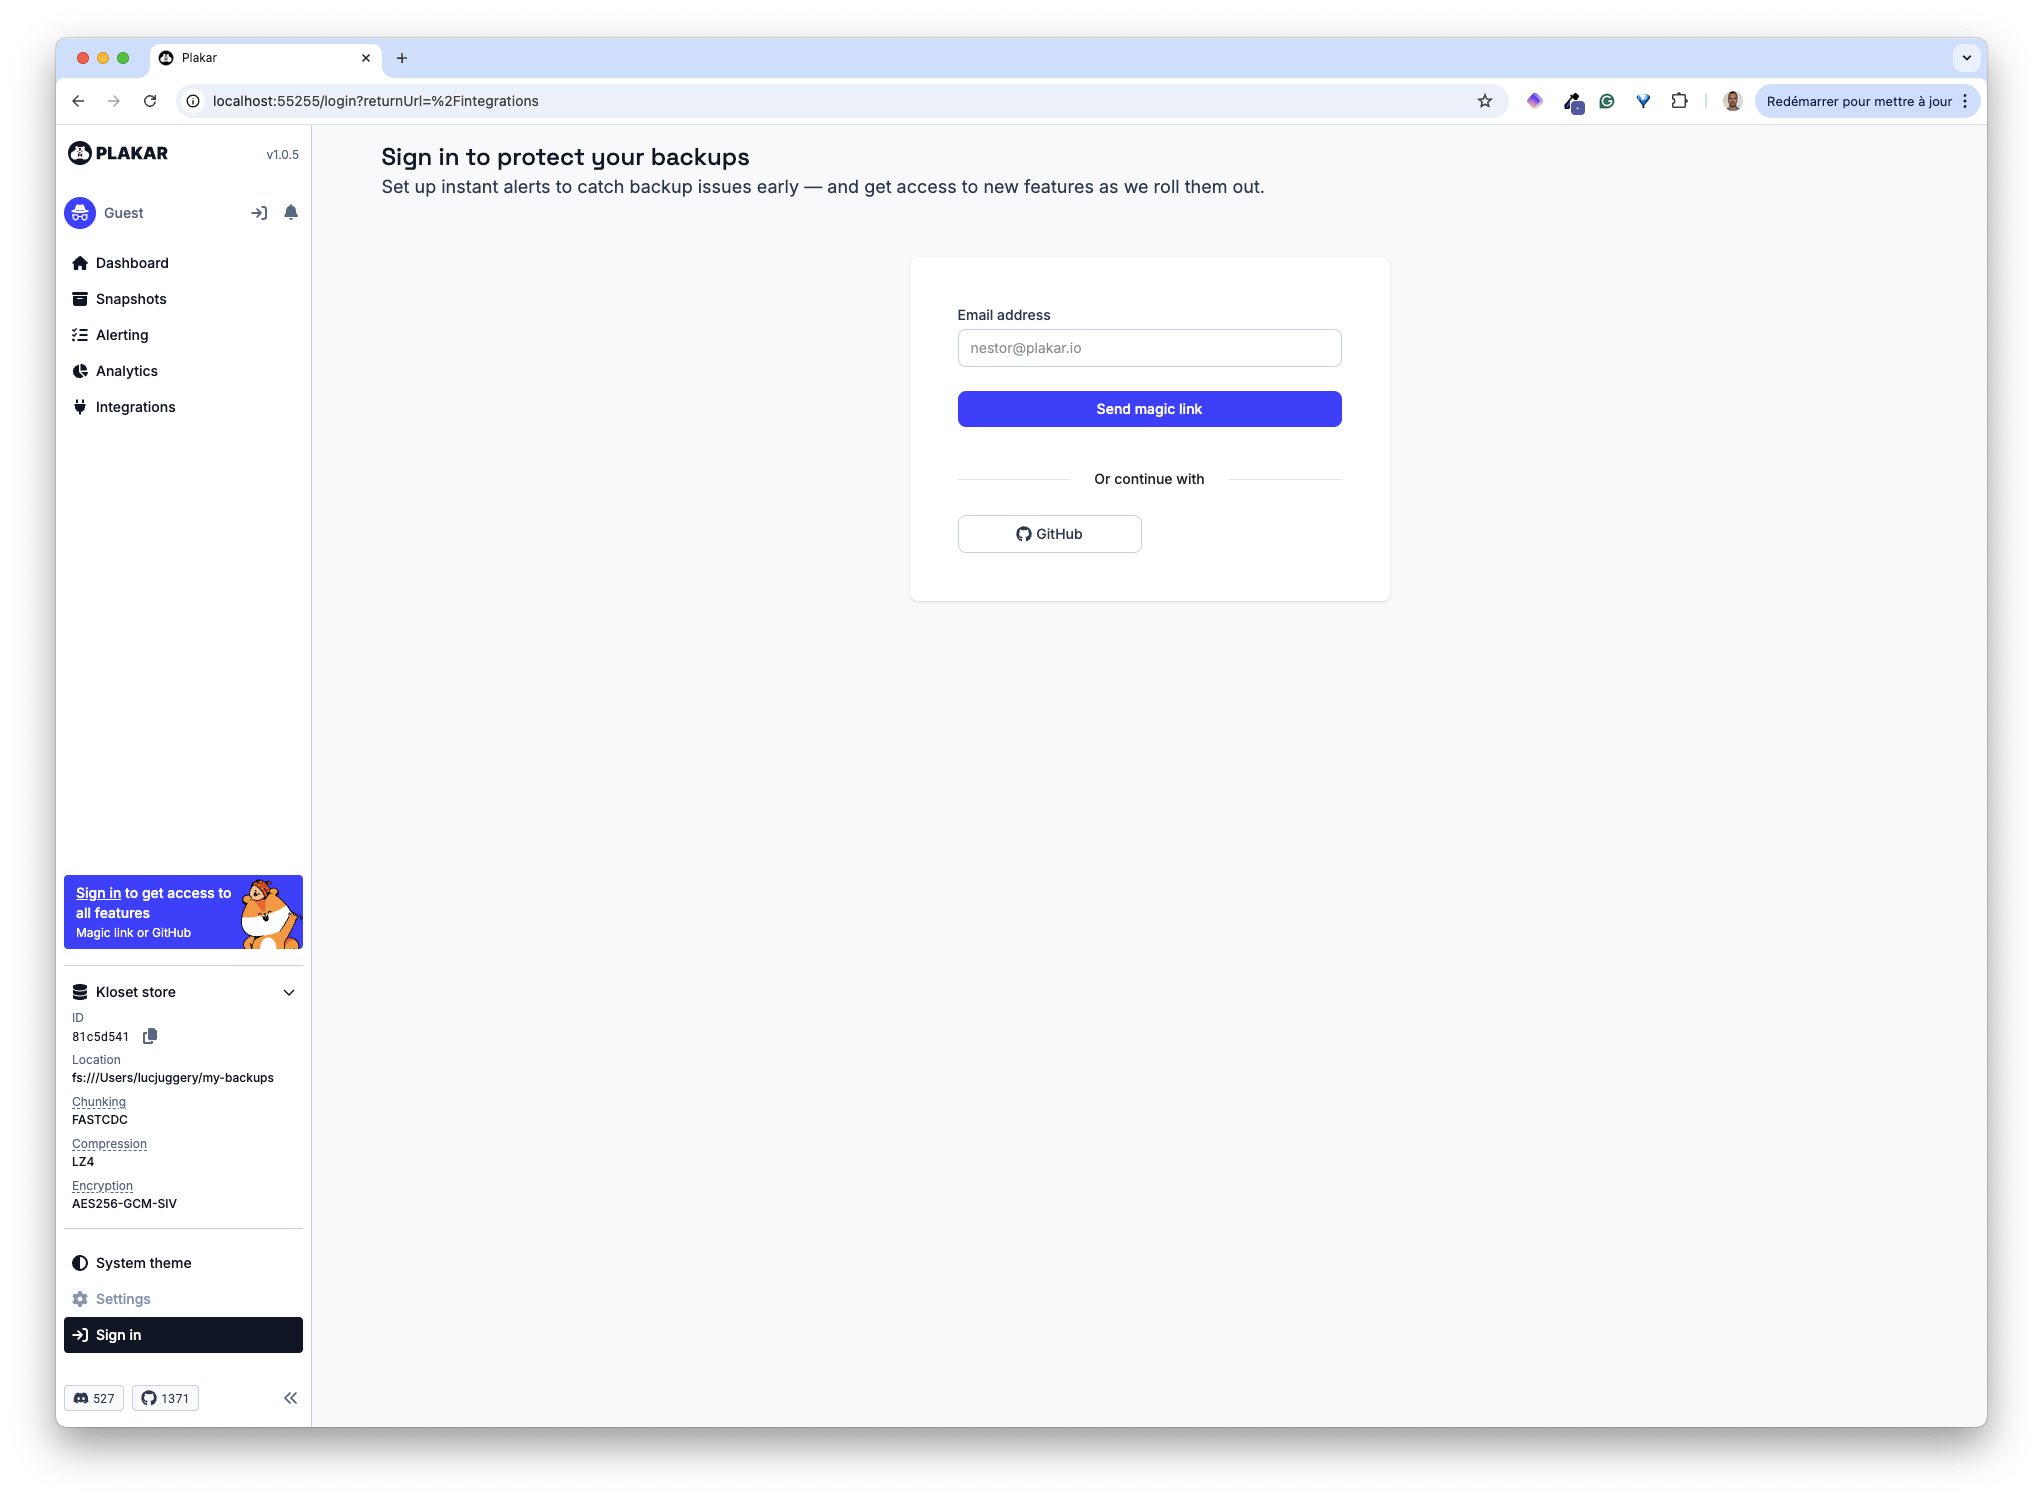
Before we can install the S3 integration, we need to sign in to Plakar using an email address or via GitHub.
Once we are signed in, we can install the S3 integration.
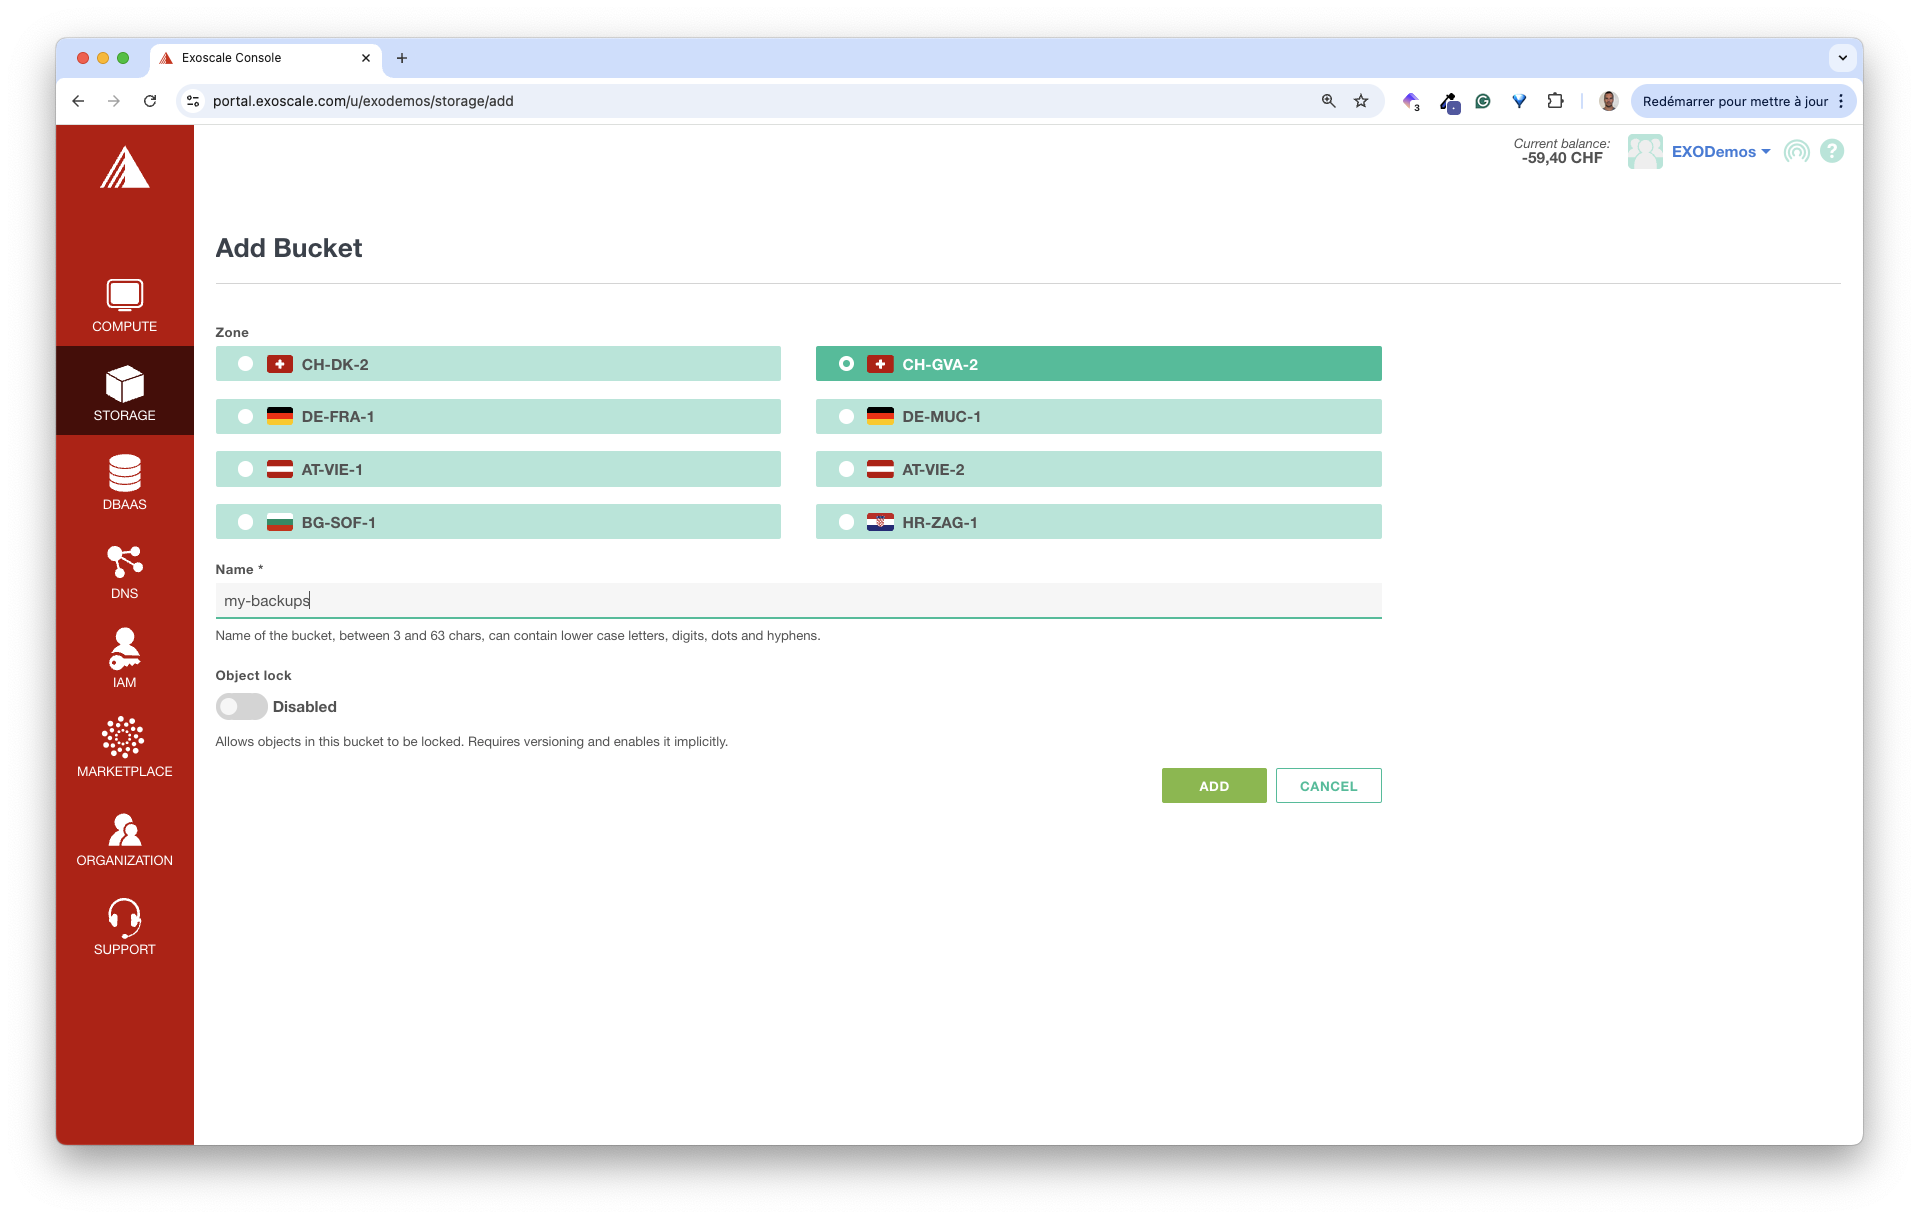
Before we can use this integration, we need to create our backup bucket in SOS and create access keys so Plakar can access it.
First, from the Exoscale portal, we create a new bucket named my-backups.
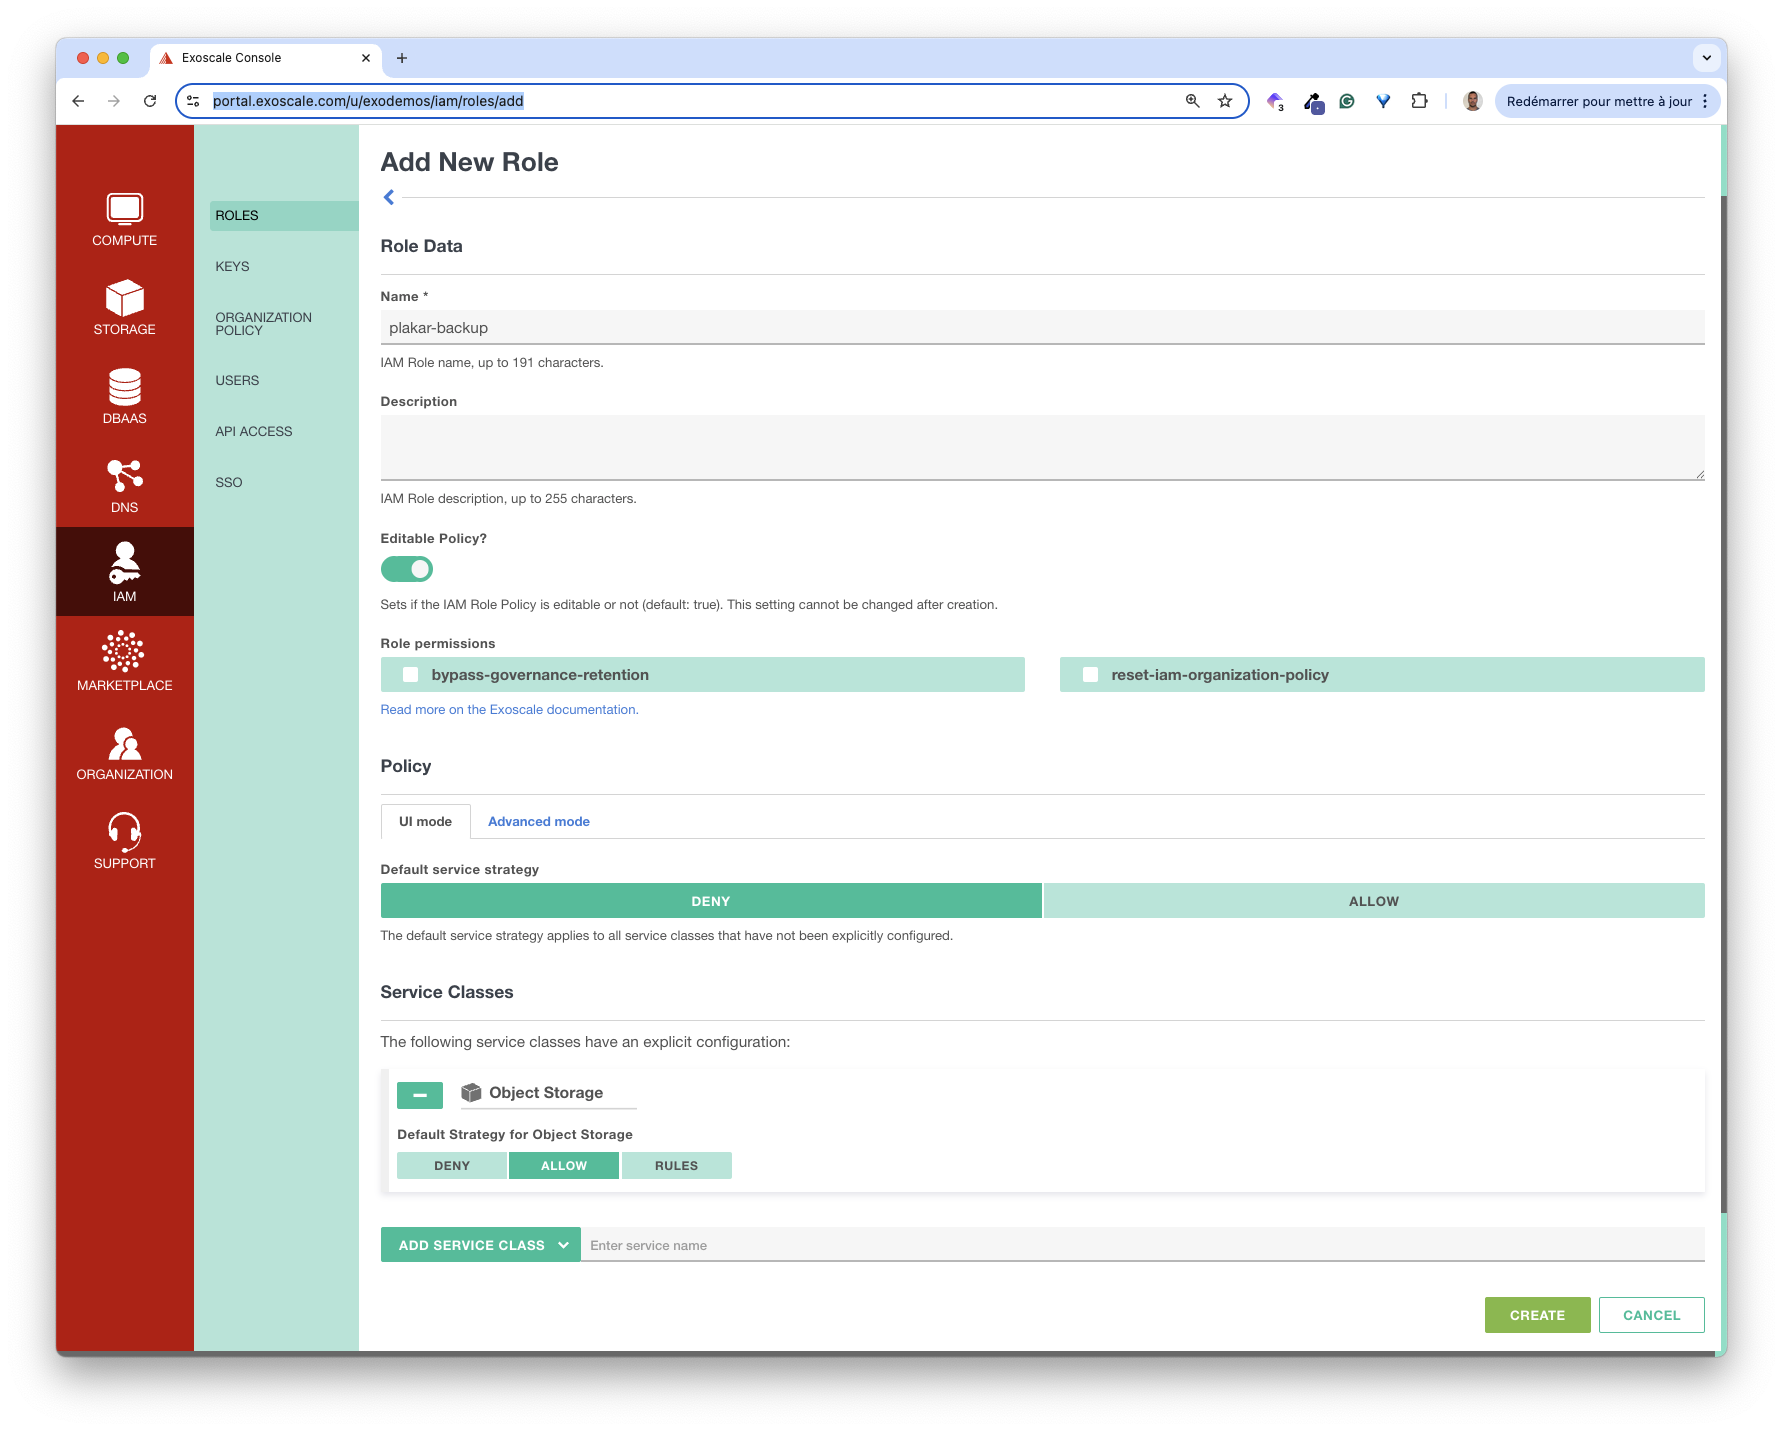
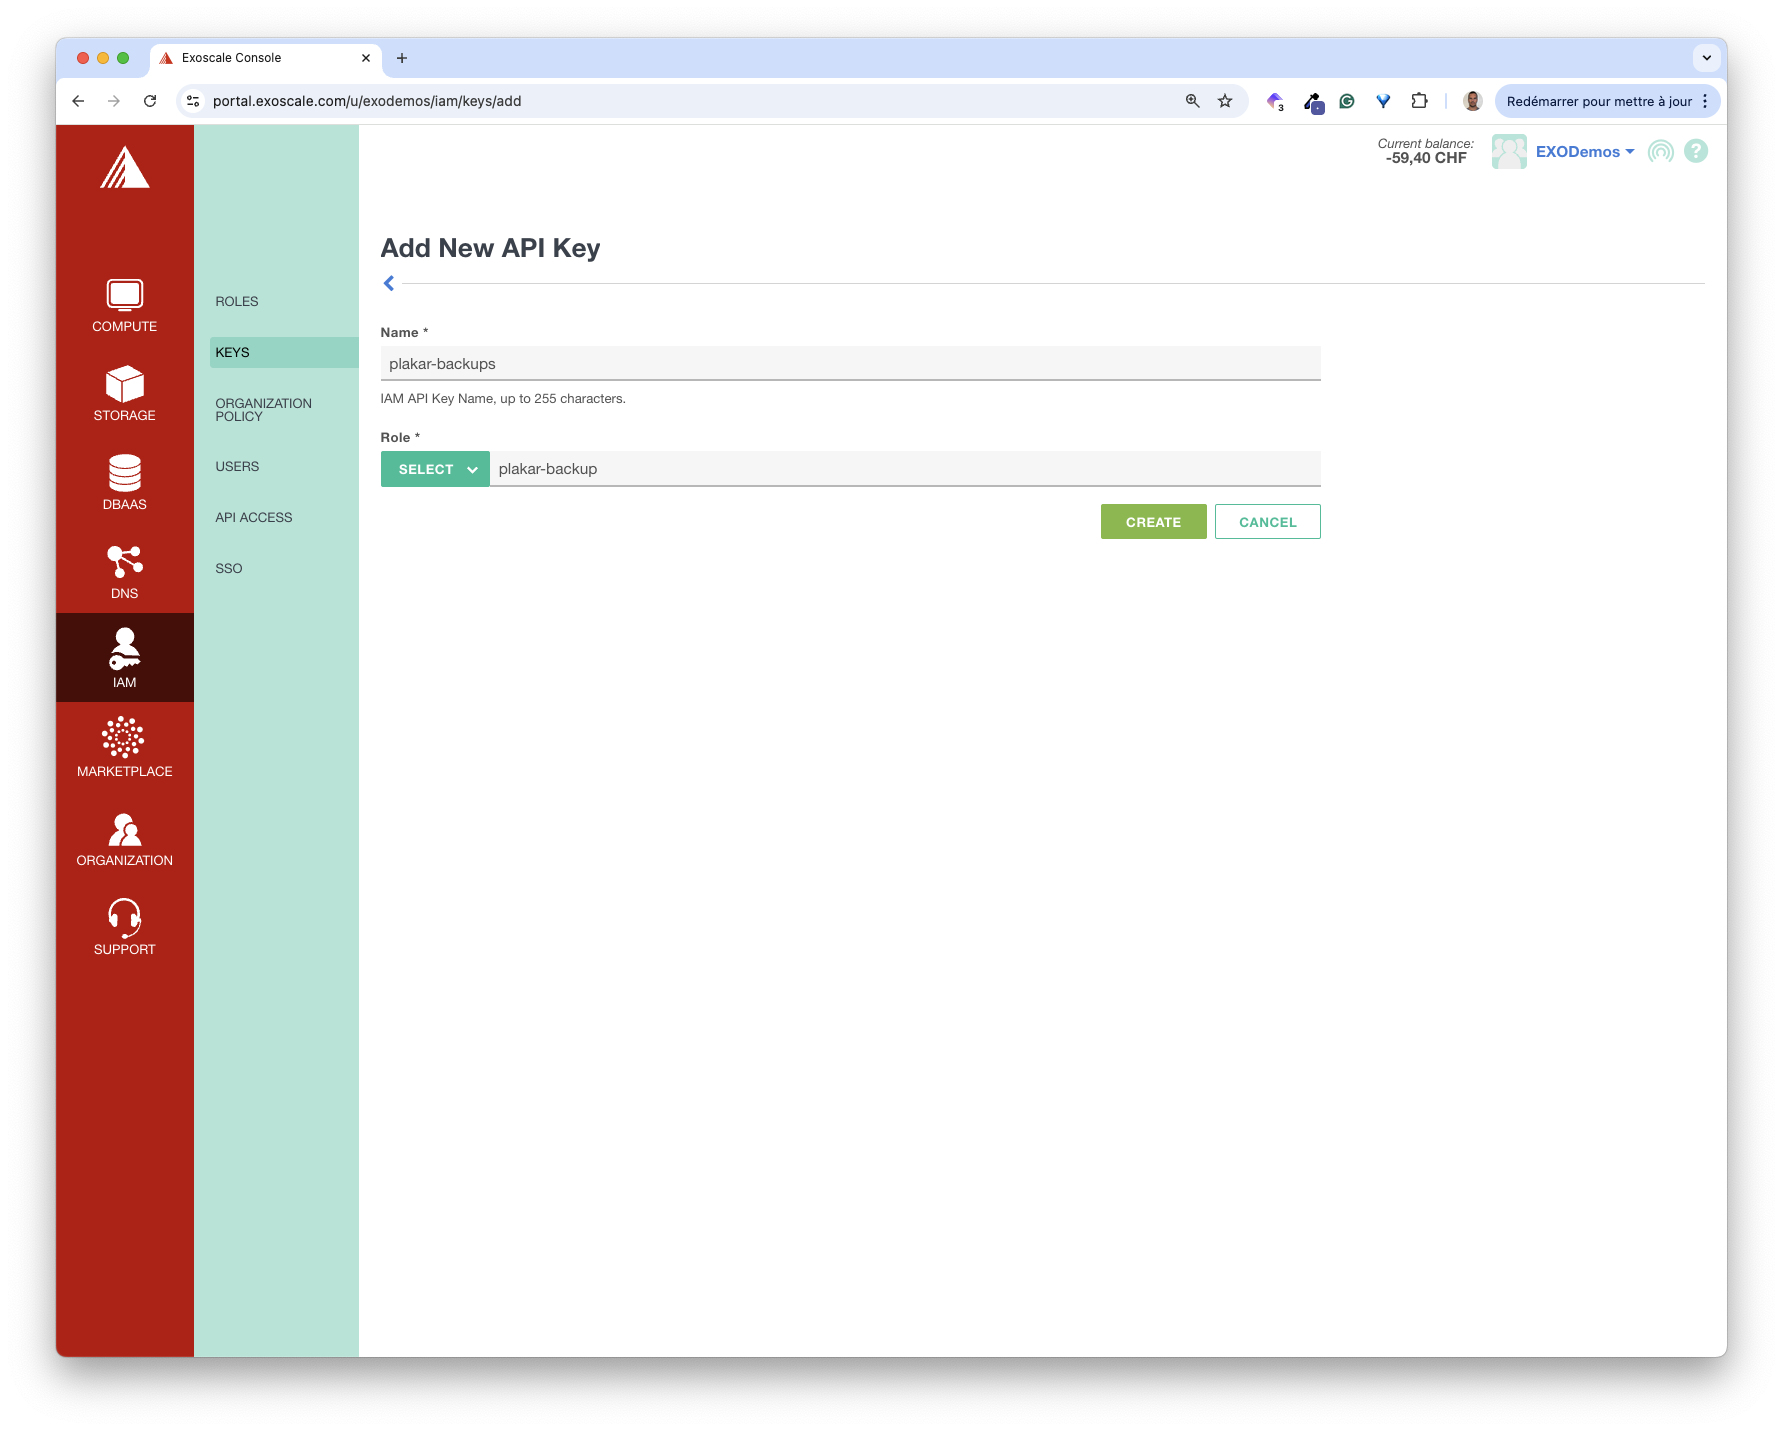
Next, we create a role plakar-backup with access to the Object Storage Service class.
Then, we create a pair of keys for that Role.
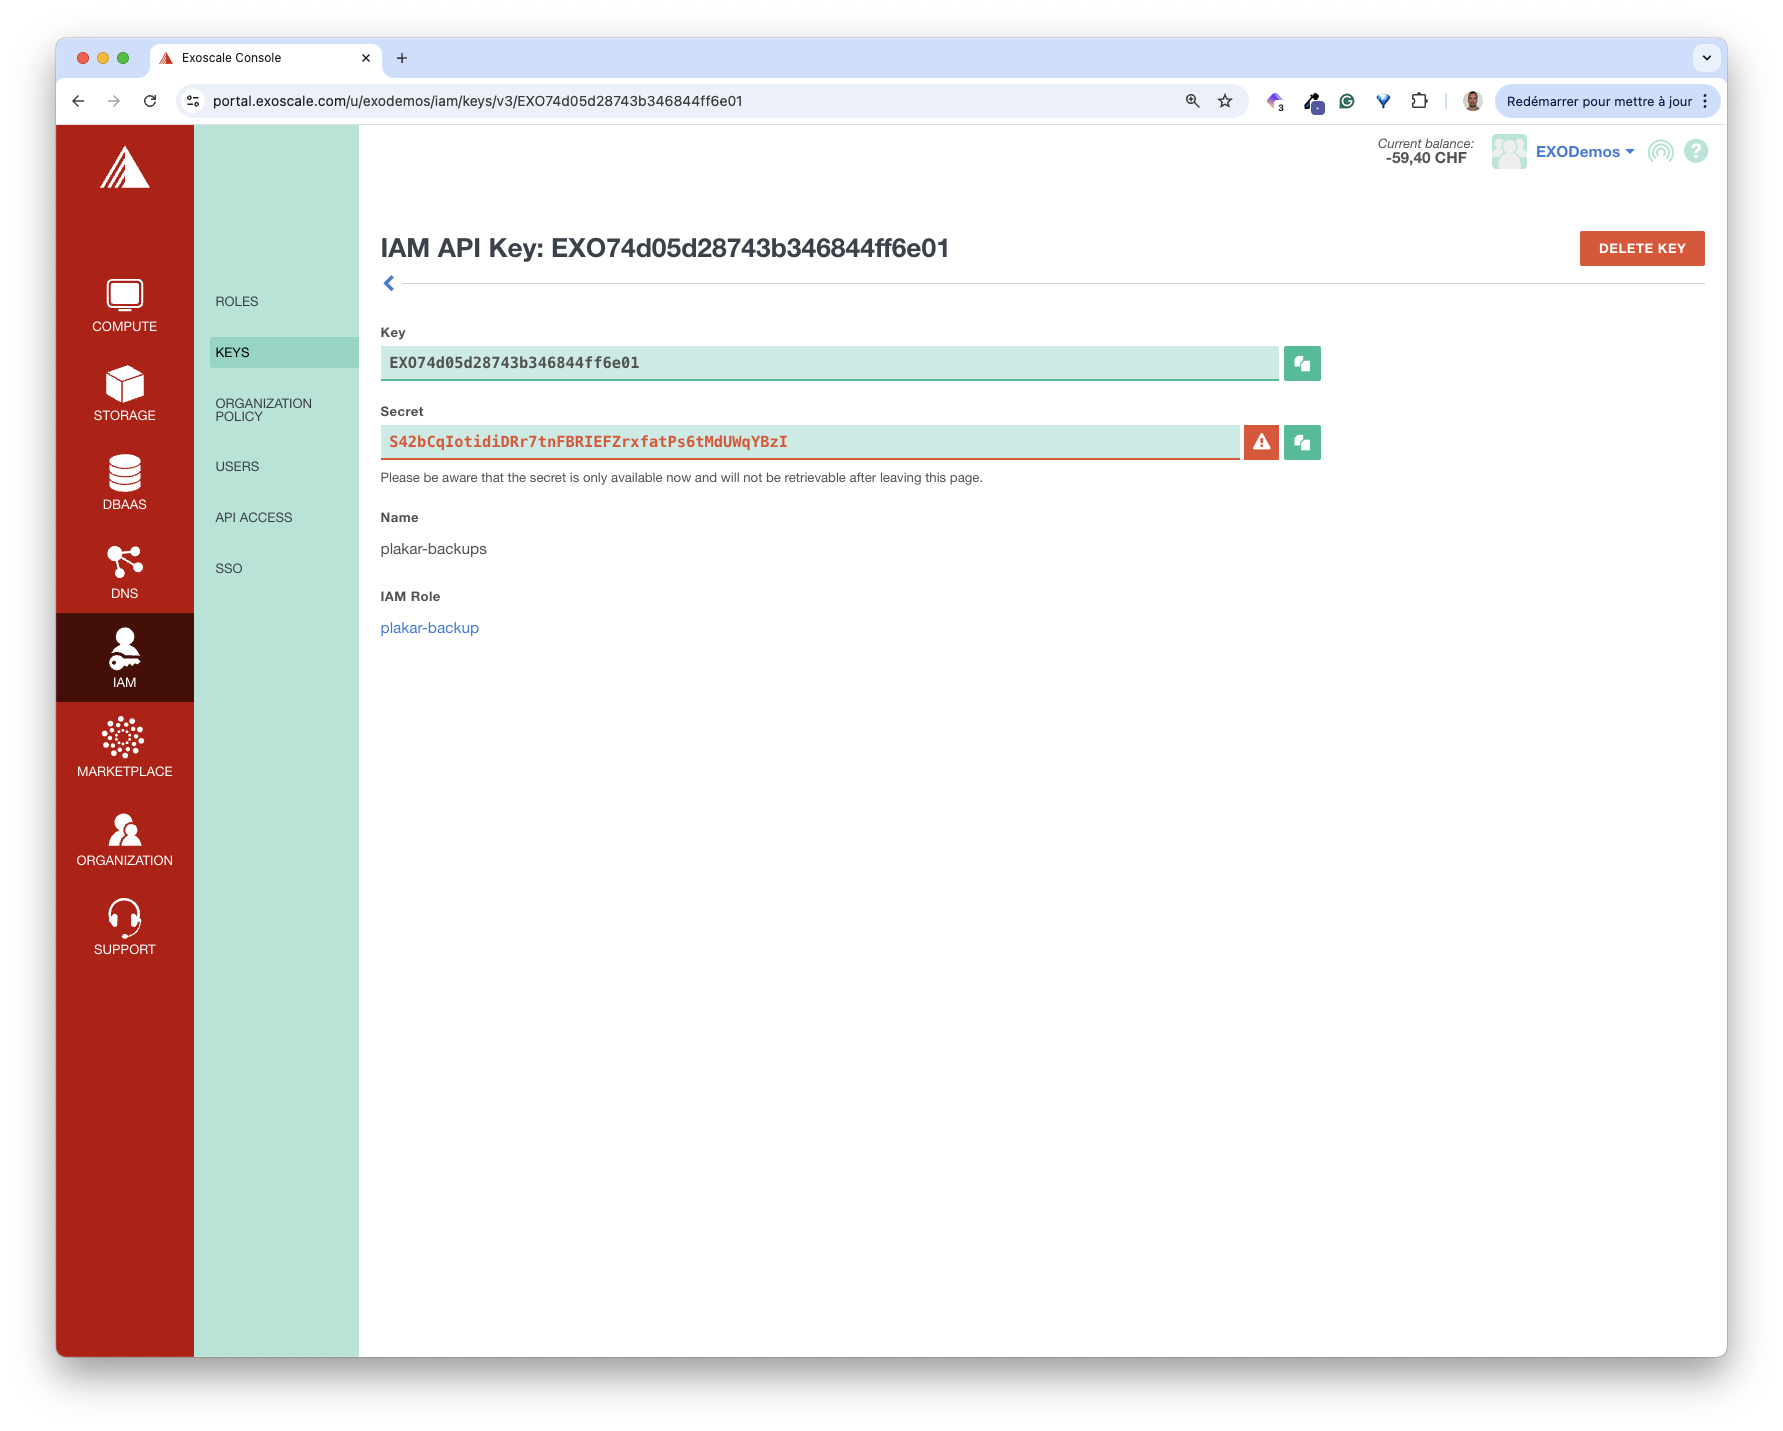
We store these keys in the ACCESS_KEY and SECRET_ACCESS_KEY environment variables.
We can now create a new Kloset store using the location of our SOS bucket. First, we add this new store.
plakar store add MyBackups s3://sos-ch-gva-2.exo.io/my-backups access_key=$ACCESS_KEY secret_access_key=$SECRET_ACCESS_KEY use_tls=trueNext, we ask Plakar to initialize it, which requires us to specify a passphrase.
plakar at @MyBackups createThen, we create a backup of $HOME/mydocuments in this new store.
plakar at @MyBackups backup $HOME/mydocumentsOur SOS bucket now has additional folders and files containing an encrypted backup of our local folder.

Using the ui command, we can access this remote backup and browse its content as we’ve done previously for the local one.
plakar at @MyBackups ui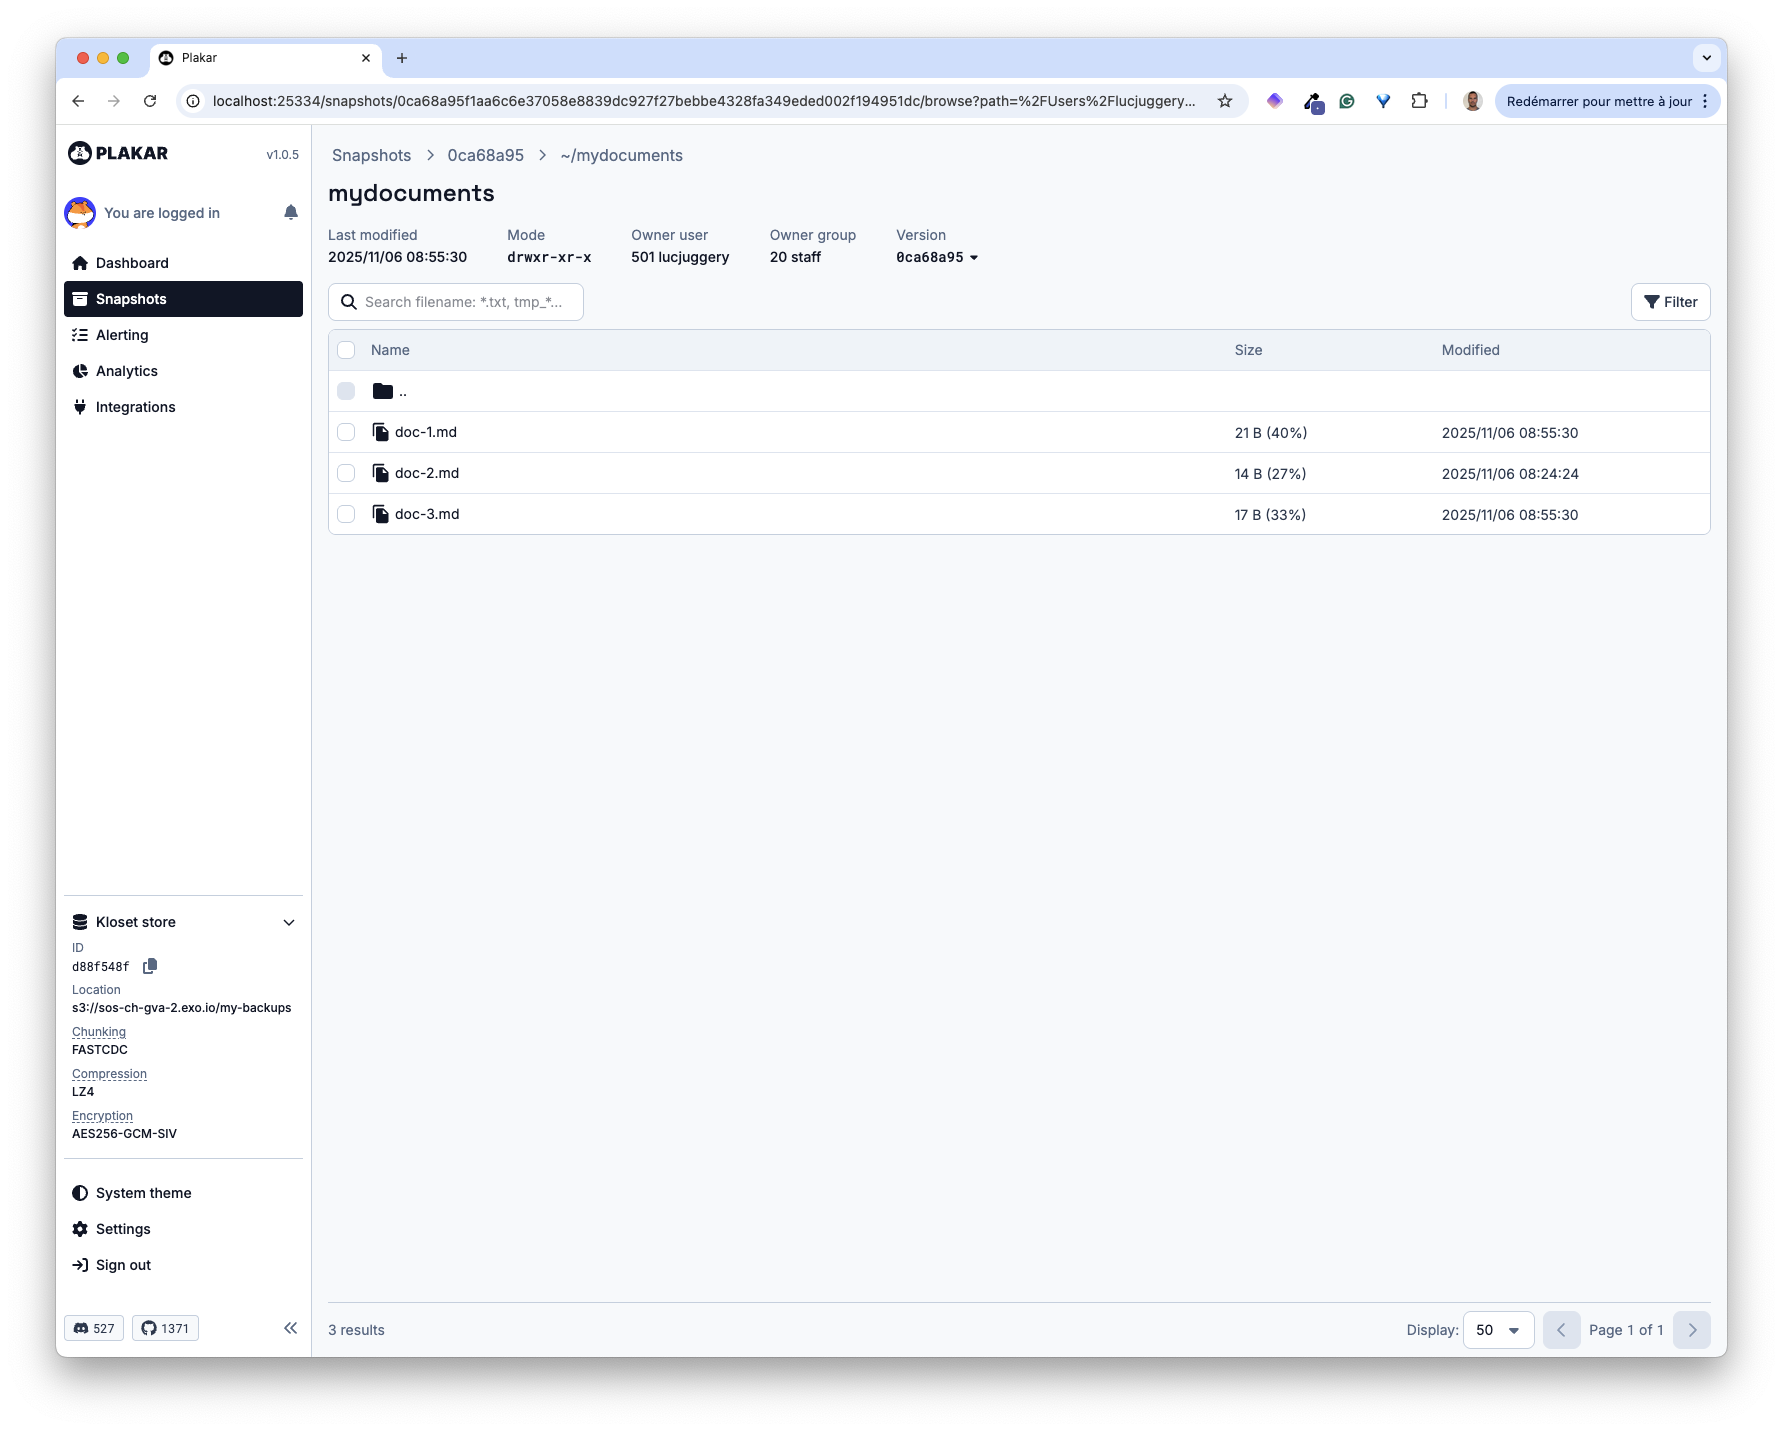
Restoring a backup
In the previous sections, we have created 3 backups of our local folder:
- 2 on the local filesystem
- 1 on the SOS bucket
Let’s now illustrate the restoration process by restoring our SOS backup into a local folder.
First, we need the identifier of the snapshot to restore (0ca68a95)
Next, we run the restoration command, indicating:
- the Kloset store to use: our SOS bucket referenced by @MyBackups
- the destination:
$HOME/restoreon the local filesystem - the snapshot identifier
plakar at @MyBackups restore -to $HOME/restore 0ca68a95Then, we can verify the restoration was successful.
$ find $HOME/restore
/Users/lucjuggery/restore
/Users/lucjuggery/restore/mydocuments
/Users/lucjuggery/restore/mydocuments/doc-1.md
/Users/lucjuggery/restore/mydocuments/doc-2.md
/Users/lucjuggery/restore/mydocuments/doc-3.md
Key takeaways
This how-to only scratches the surface of Plakar. It illustrates an everyday use case: backing up a local folder to an S3-compatible object storage service. Feel free to browse the documentation to get a more detailed view of Plakar’s capabilities.