Using the DNS through the interface
The Portal for our DNS service lets you manage all aspects of your DNS zone.
We assume for this guide that you have already chosen a zone bundle. If you have not chosen a zone bundle yet, refer to the quickstart to select one.
Configuring a zone with the interface
Enter your domain name in the
Add a Domain form and click on Add to add a name to the domains list.
If the status bar turns red, you cannot manage more domains. To add more domains you need to upgrade your subscription to a larger plan.
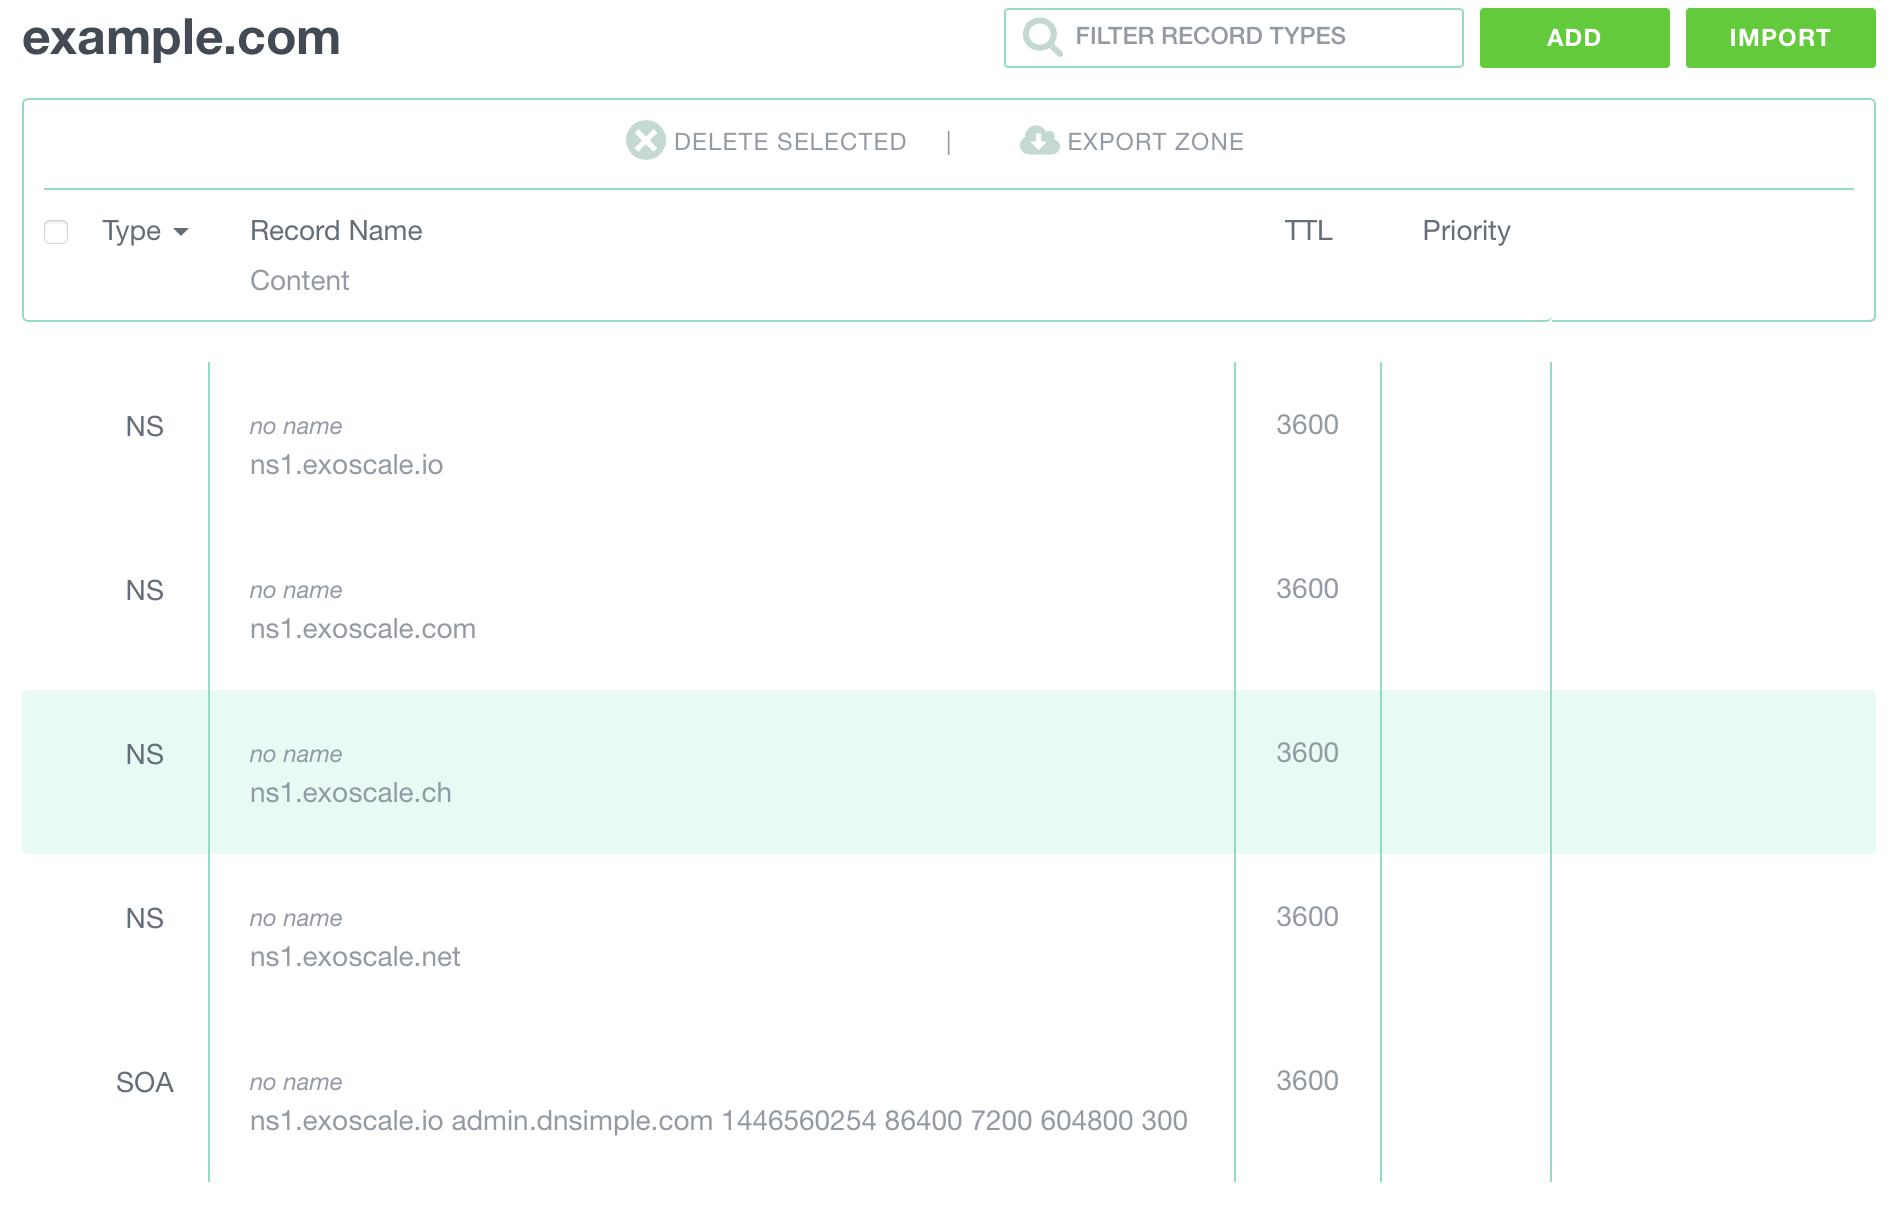
Your domain name appears in the list of managed domains. click on on the domain name to display its records.
Configuring the domain name at the registrar
Before going any further with the zone configuration, check the domain name configuration with your registrar. The name servers should be set to the NS records showing on the Exoscale Portal. If the NS record is not set, any records you set up in the Portal will not be used.
Configuring a machine record
- click on the
Add Recordbutton at the top right of the header - Select the record type
A - Enter a name
- Enter the IP address of the server
- Change the TTL value if necessary
- click on
Add
A toaster/pop-up will indicate that the record has been added successfully. You can continue adding records to the zone.
Configuring an alias record
- Select the record type
CNAME - Enter a name
- Enter the targeted subdomain
- Change the TTL value if necessary
- click on
Add
Configuring a Mail Exchange record
- Select the record type
MX - Enter a name
- Enter the mail server host
- Enter the priority
- Change the TTL value if necessary
- click on
Add
Configure my domain to point to an IP
In some cases, you need a domain to point to an IP.
For instance, you want the domain example.com to point to 10.0.13.37 with an
A record.
- click on the
Add Recordbutton at the top right of the header - Select the record type
A - Leave the name blank
- Enter the IP address of the server
- Change the TTL value if necessary
- click on
Add